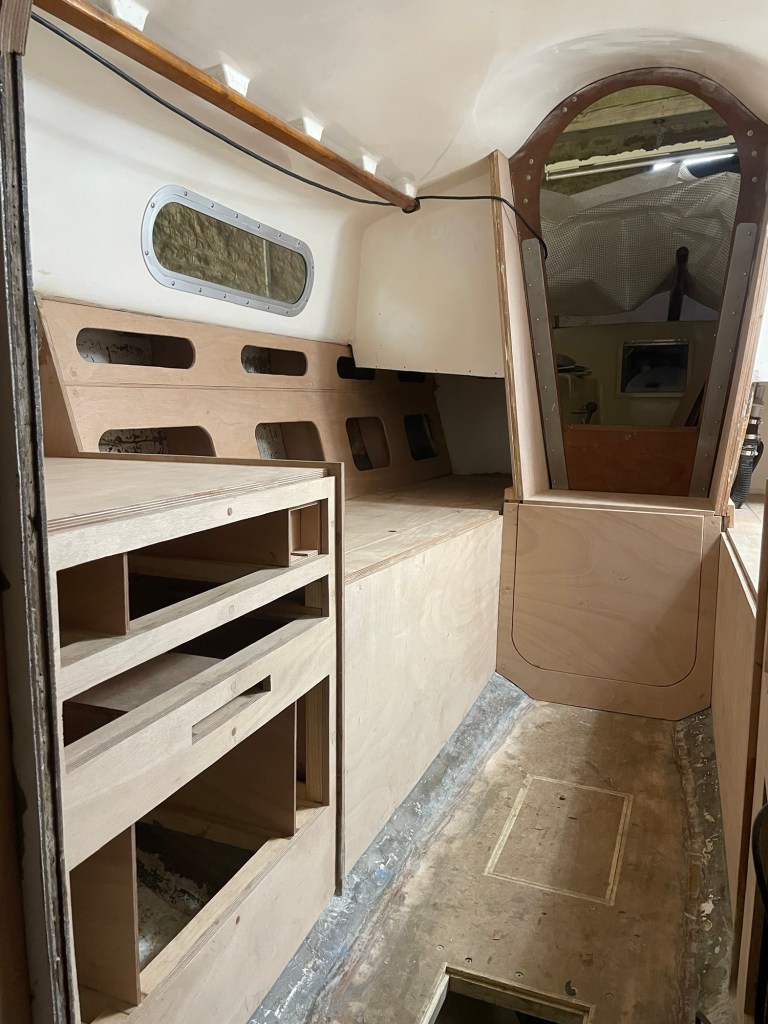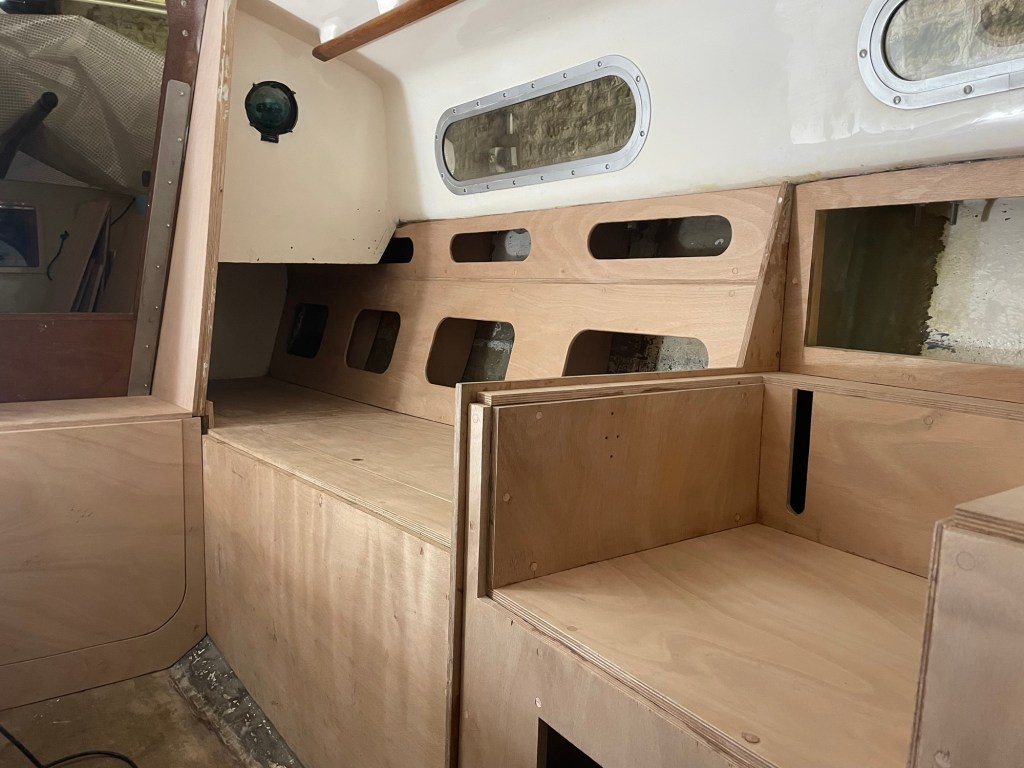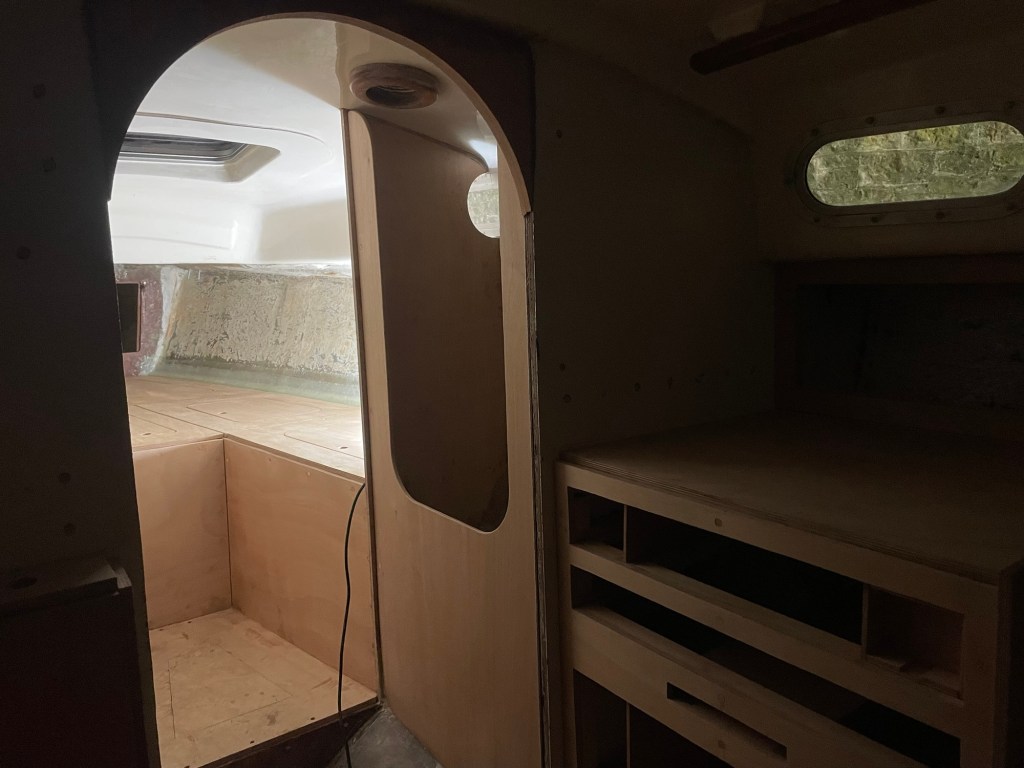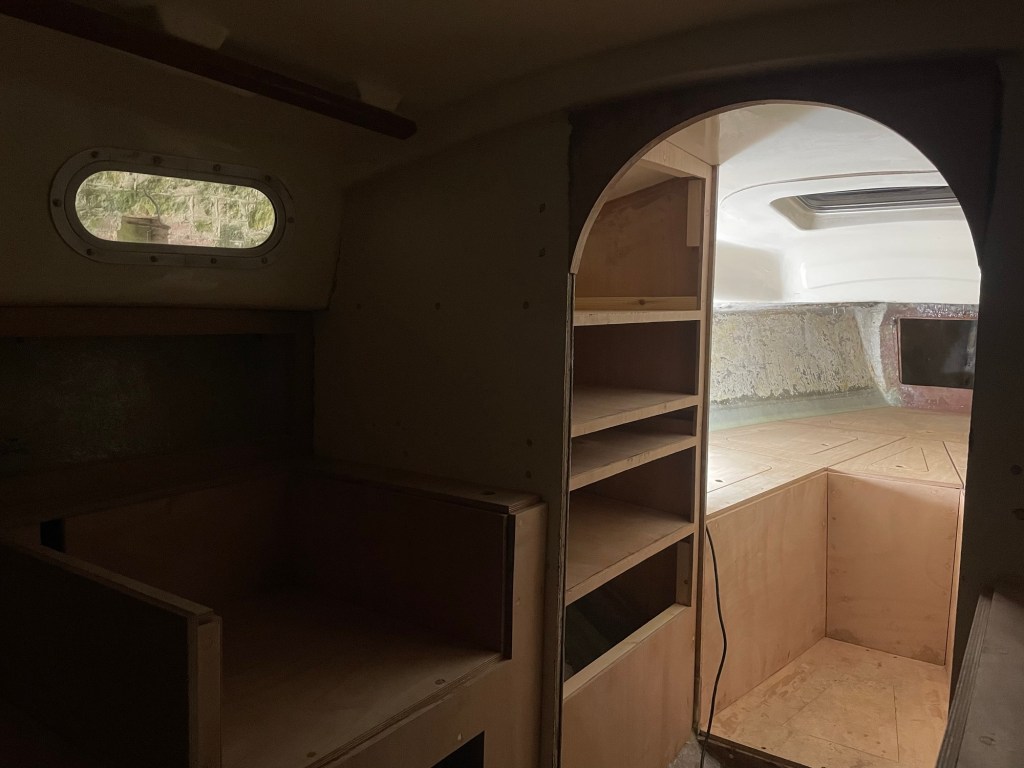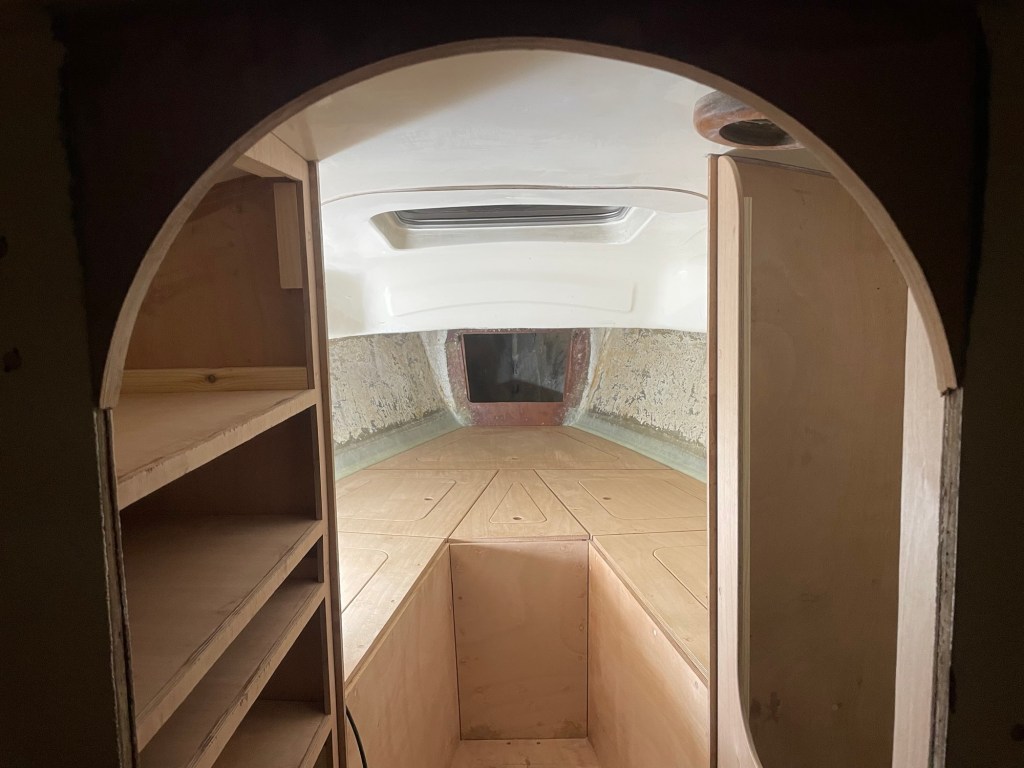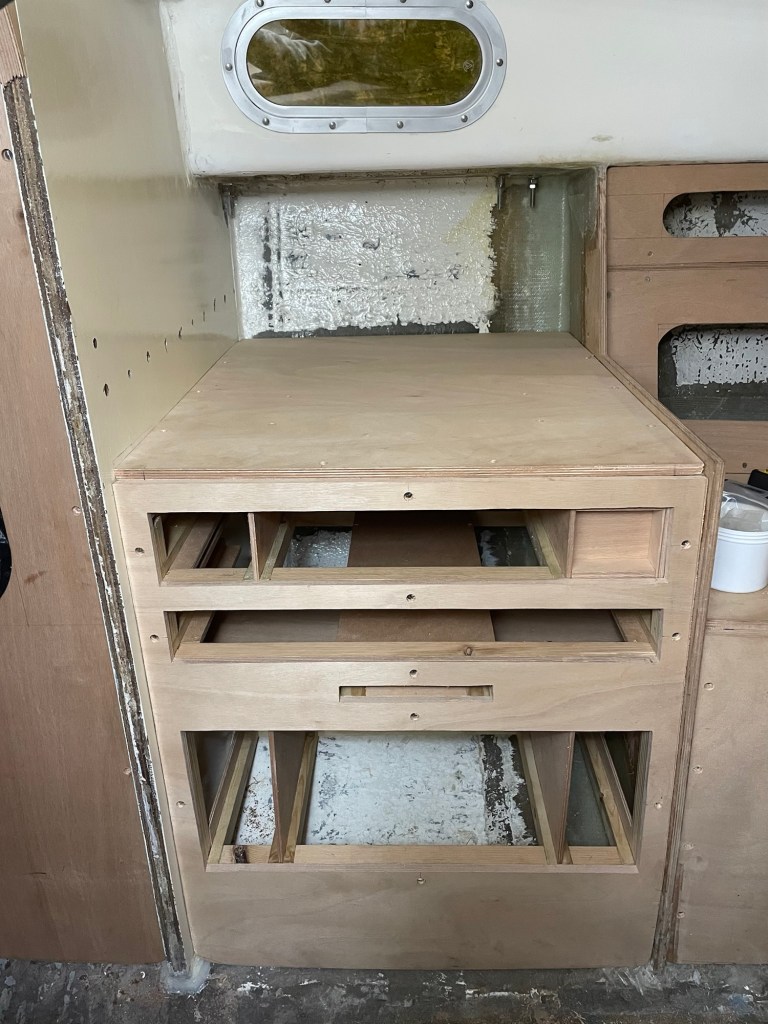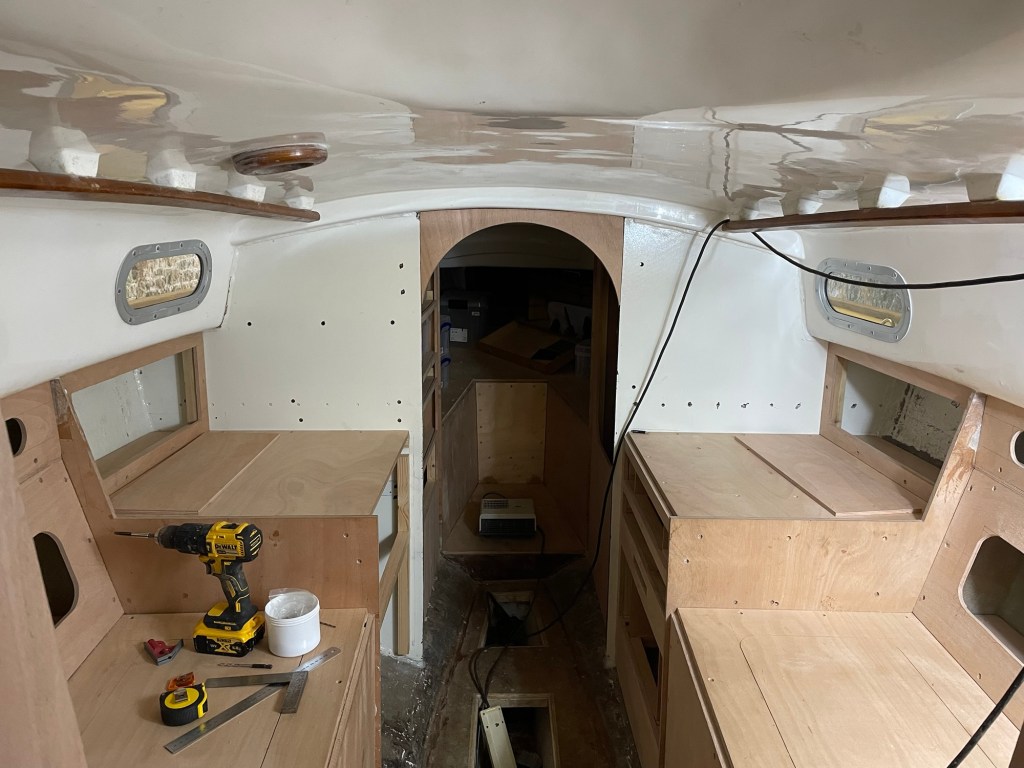
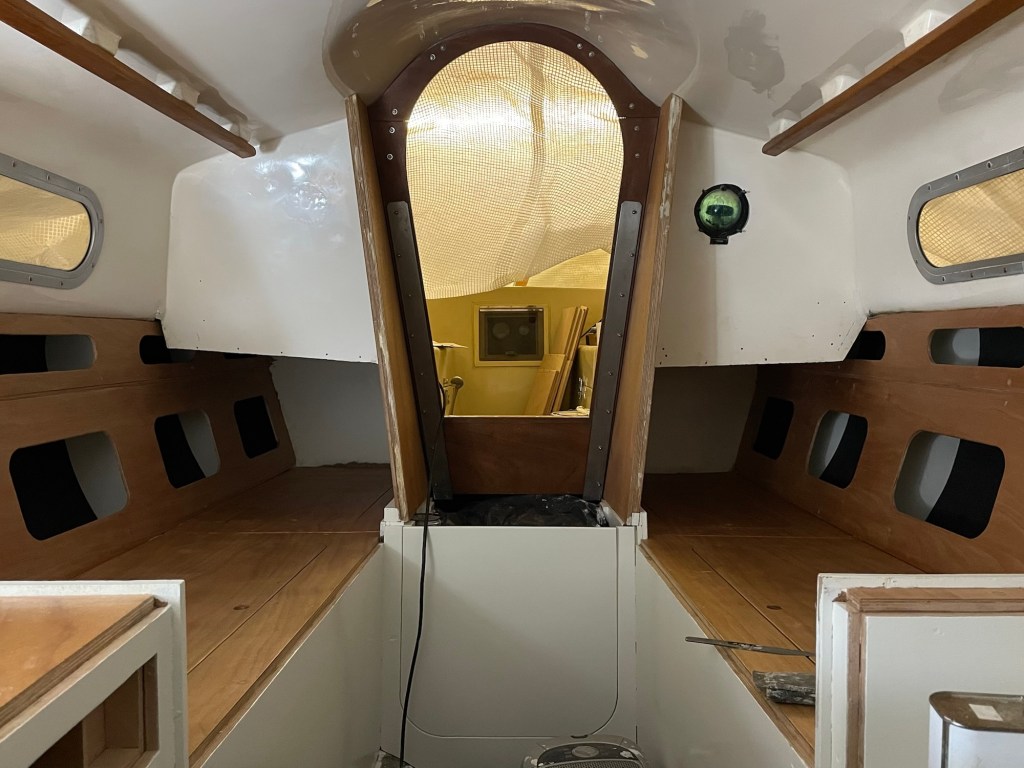
Once the rough interior was in, the next stage was to paint, oil and insulate.
After some experimentation I settled on my technique for a smooth glossy finish: follow the roller with a brush. Most areas received an undercoat and two topcoats with sanding between. Then came oiling, which has to be one of the best jobs to date. Nothing makes such a marked improvement to the appearance in such a short time as a good few coats of oil.
Fitting the insulation began by making cardboard templates of all the required panels: everywhere between the waterline and deck along the length of the cabin. The templates were then laid on to sheets of inch thick foam, traced around (making note of angles), and cut out. They were then fitted into the boat.
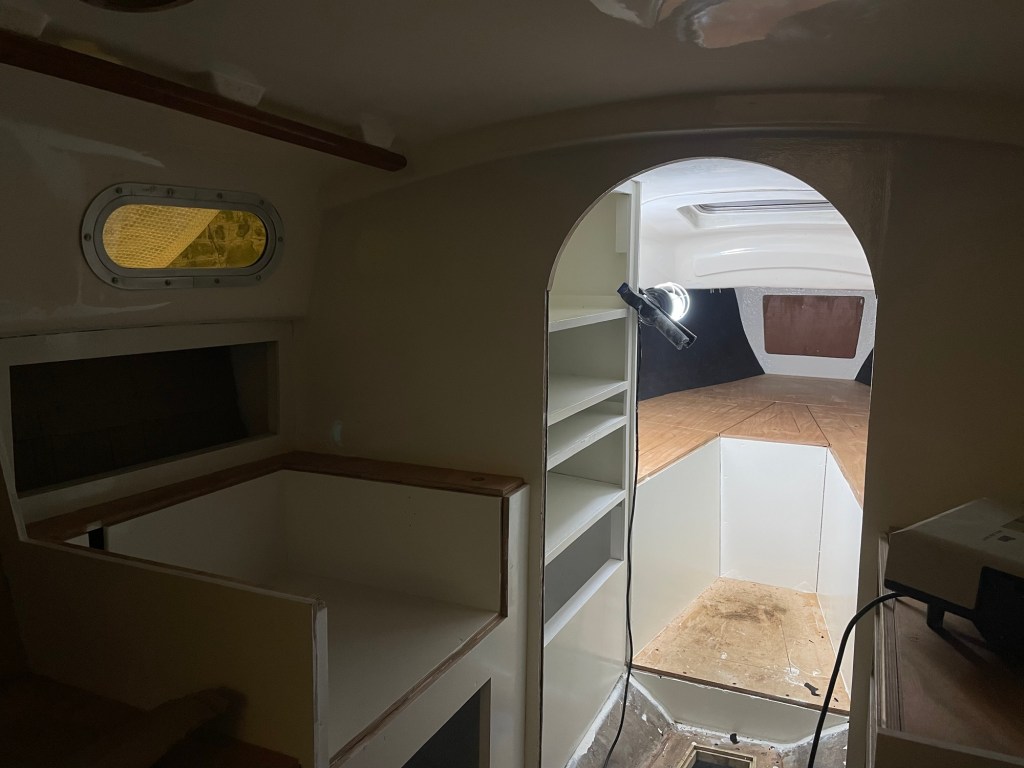
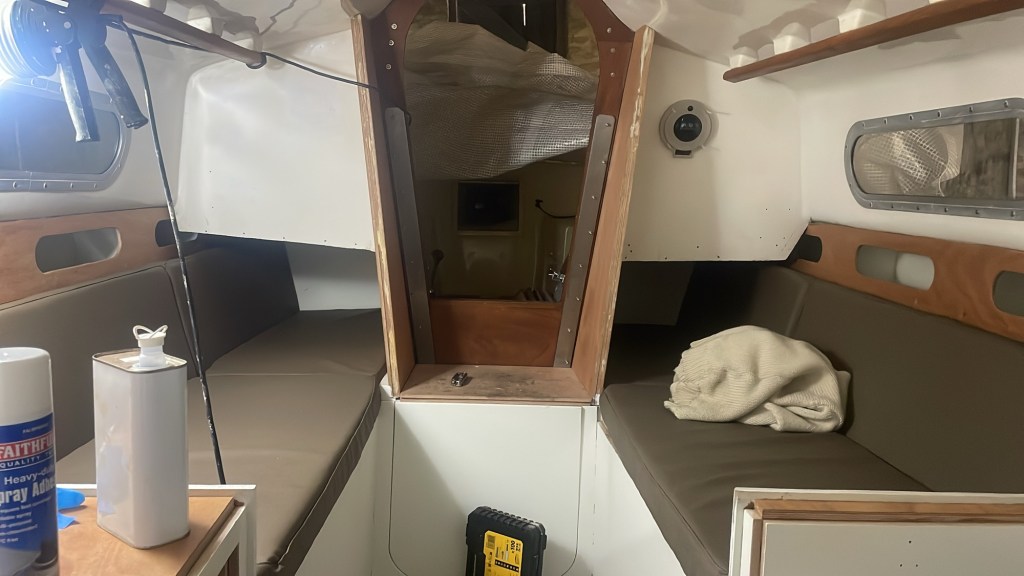
The foam sections were then removed piece by piece, wrapped and stapled to waterproof vinyl, and glued back into the hull with spray adhesive.
The making of Tarka’s cushions has been going on in parallel. They were first templated and cut out of cushion foam, then taken up to London to be sewn up by my very dedicated personal seamster dad! And to great effect! Get your orders in!
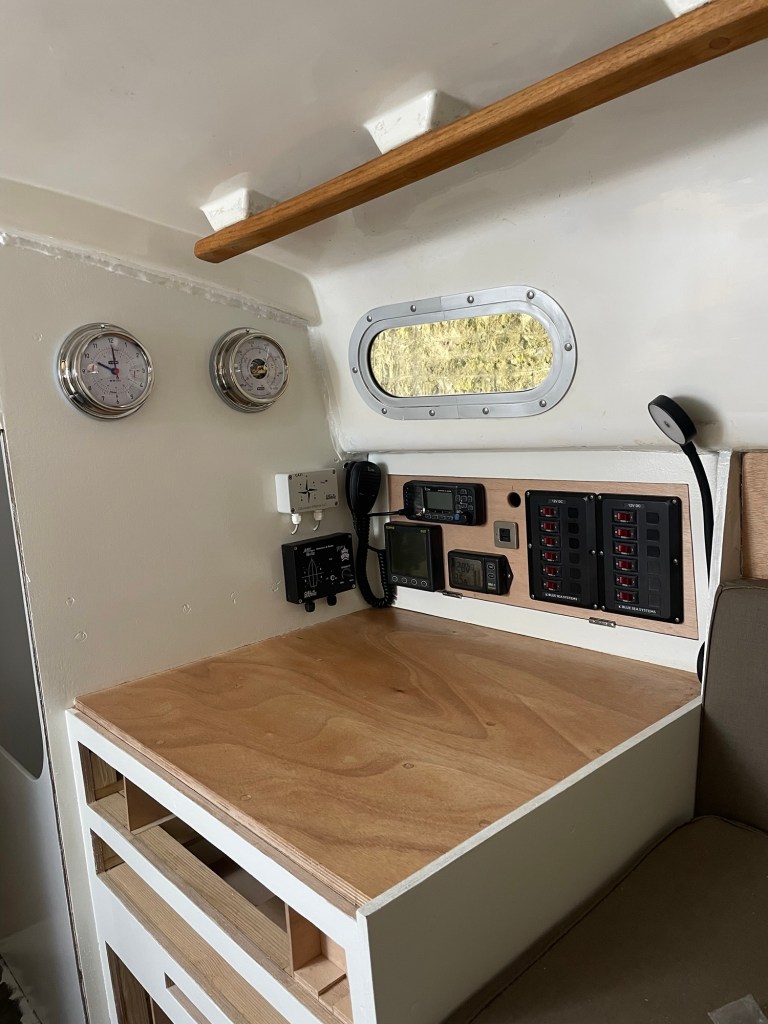
Since then I’ve began work on the electrical system. It’s proving to be difficult. Unlike many previous stages of the refit where I’ve been able to apply skills with one material to another with only minor adjustments, electrical work is like learning a second language; a language of tinned copper terminals, voltage drop, overcurrent protection and circuit diagrams. It’s a work in progress…
Despite my current tribulations, there does seem to be light at the end of the tunnel. I’ve given myself March for the electrics, April for getting the boat ready to be launched and May to do the remaining bits of woodwork and get her looking sharp! So get diaries out for the beginning of June..!