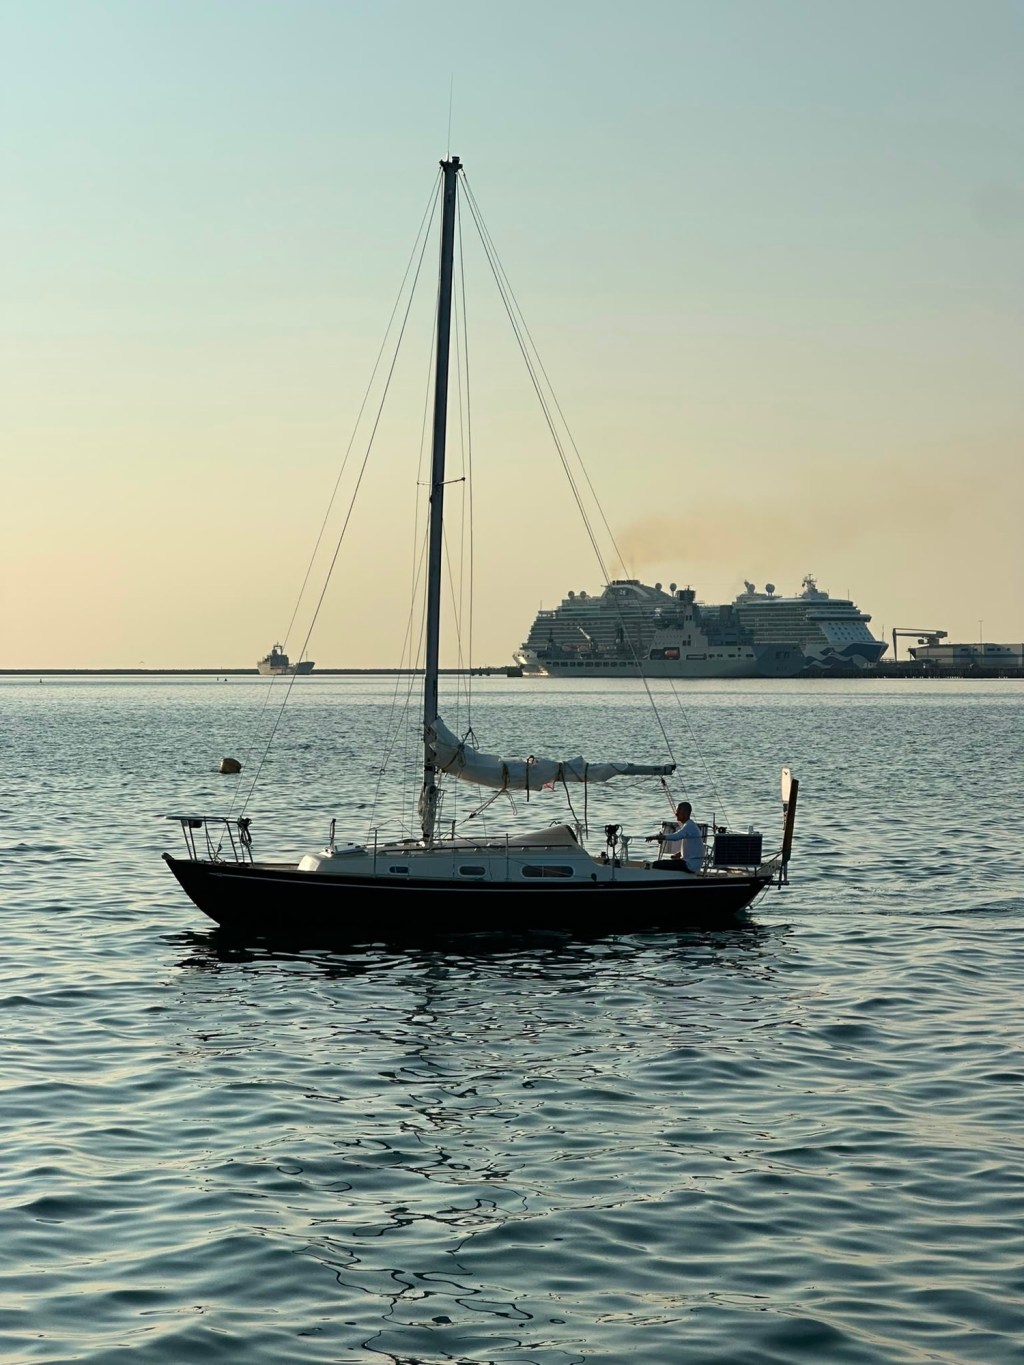
Following the refit and subsequent voyages of “Tarka”, a 1977 Jeremy Rogers Contessa 26.

dd03df1b-035d-49c8-9dfd-82f148221934
Morning of departure around the UK

Link to tracker:

https://my.yb.tl/JoeBainbridgesailing/map-only/

Blog

  • Work hard, get something done everyday. Easy!

    This week has been productive. Whilst there is progress everyday, it’s not everyday that the appearance of the interior changes so quickly. I keep reminding myself not to rush – as a reaction to my alarm at this rate of progress – but then backtrack and remember that the progress is simply proportional to the time spent working, time I now have in abundance. I’m relishing this time, well knowing that there will be months ahead when progress will seem tediously slow and far less tangible.

    The four main bulkheads have now been glassed in and I continue tomorrow with spiling and cutting the bunk fronts.

    This week’s niggle has been the storage of anchor chain, which I had to finalise in order to build the V-berth around it. I intended to run the chain through a deck fitting, down a hose-pipe along the centre-line of the boat to the forward end of the bilge. This required choosing a chain (of suitable strength) that had clearance inside a pipe, which was of a size that allowed it to be securely fastened to the underside of the deck fitting. On looking into it I was surprised to find myself looking at diameters of chain at this relatively early stage in the refit. Funny how one has to look so far down the line and cement tiny details in order to take steps forward in the present.

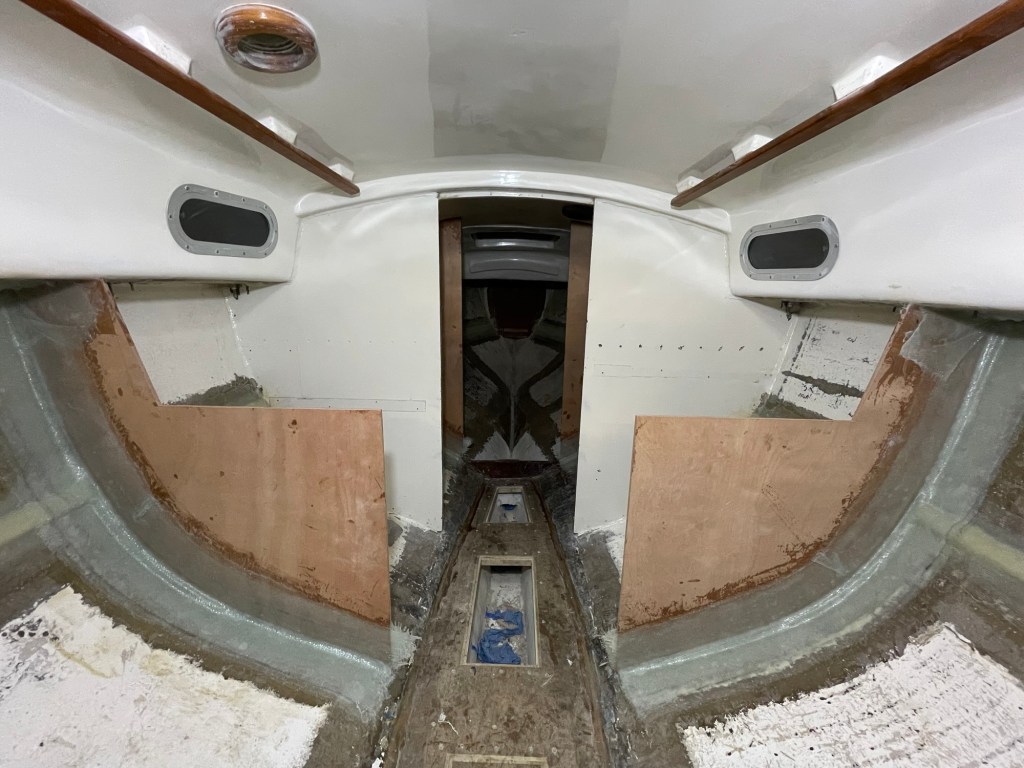
    The galley will be on the port side, chart table to starboard.
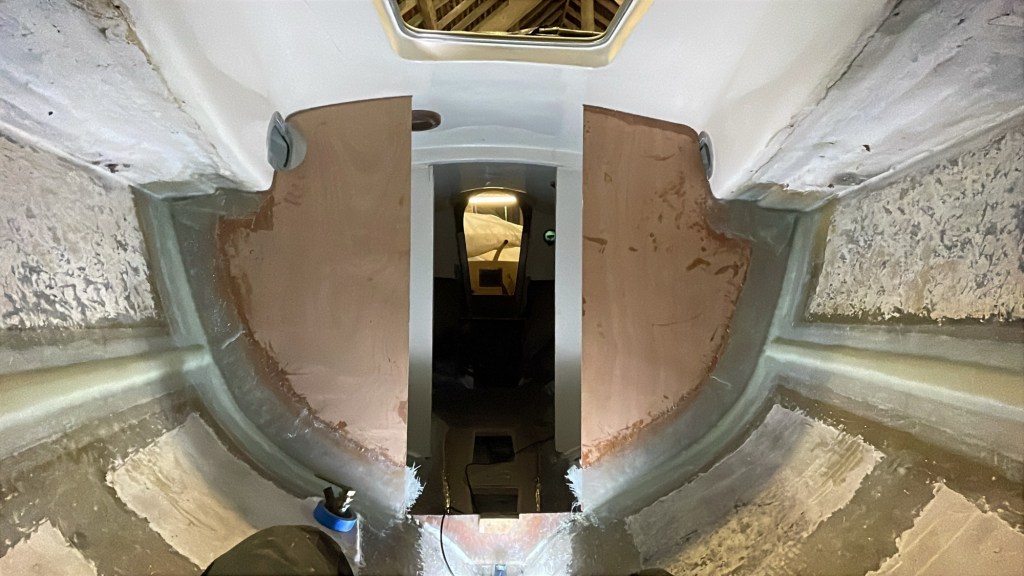
    Looking aft: to starboard will be a hanging locker (hence the cutout around the window) and to port, storage.
    Beginnings of the V-berth. The ‘chain pipe’ will run down the centre-line.
  • The Work Begins

    Having finished my degree and the furniture making course in Lyme Regis, my calendar is clear for an intensive nine-month burst of boatwork with the aim of getting afloat by May/June 2026. From the conception of my plans to the present day, they have consistently had to take second place to other commitments and responsibilities, so it feels amazing, and is a huge privilege to be finally able to dedicate my whole self to the project.

    Since coming back from Lyme I’ve been spiling, cutting and fitting four bulkheads, positioning them square to everything else and grinding the last remnants of old gelcoat (so the bulkheads can be bonded to bare fibreglass).

    Spiling aims to capture the imperfect curve of the hull side on a ply frame. This is then transferred to a solid ply template, and then to the final 12mm marine ply sheet which the bulkhead is cut out of.

    When bonded in with fibreglass, the bulkheads form the structural skeleton of the boat and provide surfaces which the four sleeping berths can be bonded to; thus completing the rough interior installation. The job wasn’t particularly difficult but often required one thing to be held in place while measuring or adjusting something else. This was made much easier by an extra pair of hands; my friend Nick came to help for a week.

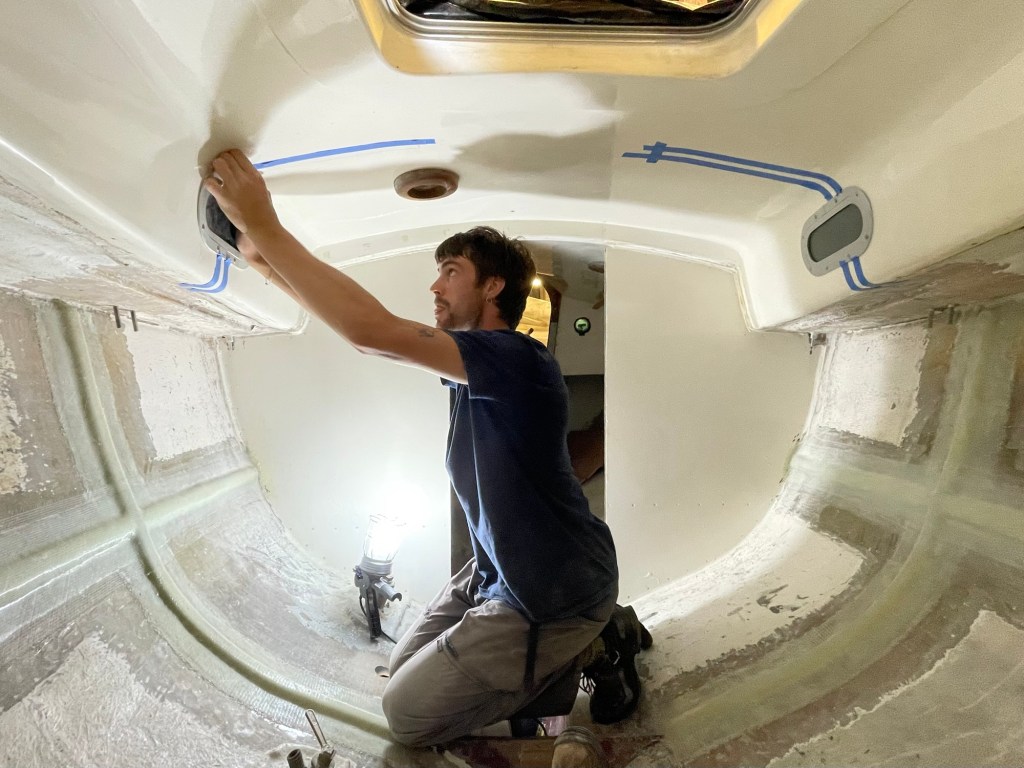
    One unexpected job was to grind away a narrow channel of gelcoat on the coachroof where the forward bulkheads meet the ceiling. This required introducing the concept of precision to the angle grinder, which when added to working in a confined space with mask, goggles and headphones on, and above one’s head, turned out to be quite a job.

    I’ve also been designing the rest of the interior to make the best use of space and have enough drawers and lockers so all my worldly possessions don’t fly across the cabin if the boat was to be knocked down…

    Put to work!
  • Preparing for the interior

    I spent last week making some final preparations to the hull before fitting the interior. This involved adding “stringers” which spread the load of the interior fittings on the hull sides and add stiffness to the hull. They are normally bonded to the hull when it’s still in the mold, but as my boat was stripped when I bought it, they had to be retrofitted. Below shows the steps I took.

    It began with cutting and shaping polyurethane foam sheets into long thin strips. I spent day one cutting these out by hand, but after waking the next day, to my shoddy workmanship of the previous, I decided that shaping them with sandpaper was the way forward.

    Then I determined the exact position these foam strips were to take on the hull, so that the bunks would be exactly horizontal and the bulkheads vertical. For this I used a laser-level; I could’nt use a spirit level, nor the laser-level’s built-in gimbles, because Tarka is sitting on her trailer at a slight angle.

    Next I bonded the foam to the hull with thickened epoxy (overkill I know), and sealed with unthickened epoxy, in order to minimise the chance of voids forming under the glass as its an open cell foam. The foam adds no strength or rigidity in itself, but provides a form over which to lay the structural material, i.e. the fibreglass. Wood is sometimes used instead of foam but weighs more and is more time consuming to shape to the exact curve of the hull. I wetted out and rolled on 4 layers of glass (from first to last): 1x300g/m^2 powder bound csm, 2x600g/m^2 biax and 1x300g/m^2 biax. This was done for the forward and aft partial bulkheads, and the forward stringers. Unfortunately I ran out of time at that point and will have to return to the boat for a weekend to finish the job for the aft stringers. The gallery has been updated…

    Once I have completed the furniture making course I’ll be working full-time on Tarka to get her afloat by next summer. The remaining work is summarised below:

    • Fitting the self-steering windvane.
    • Designing, cutting out and fitting the partial bulkheads, galley area, chart table/workbench, hanging locker, berths, the many storage spaces aboard, and various miscellaneous fixtures.
    • Finalising the standing and choosing/sourcing the running rigging.
    • Choosing electrical navigation instruments, lights, communications instruments, and other electrical fittings, thus establishing my energy requirements.
    • Choosing and fitting a straightforward reliable electrical system to support these requirements.
    • Fitting a hand pump to my water storage system (jerry cans).
    • Fitting the gas cooker and small gas locker with bottle.
    • Choosing dimensions, designs and materials of ground tackle, bilge pumps, safety equipment, interior upholstery.
    • Getting the engine ready for action.

    In other news, our trio ‘Morse Contact’ has released its debut (self titled) EP. This features Cameron Scott on euphonium, Luke Purbrick on guitar, and me on drums. We showcase a couple of tunes we’ve been playing together over the last 18 months and include a few of my own! (“The Opener, “Without Expectation” and “The Raging Bull”). Thanks to Luke, we had the incredible opportunity to record at Abbey Road Studios. We are all very happy with the result so please have a listen if you’re interested!

    The EP can be found via the link below and is not available on other mainstream streaming services.
Please subscribe to be notified about future posts!