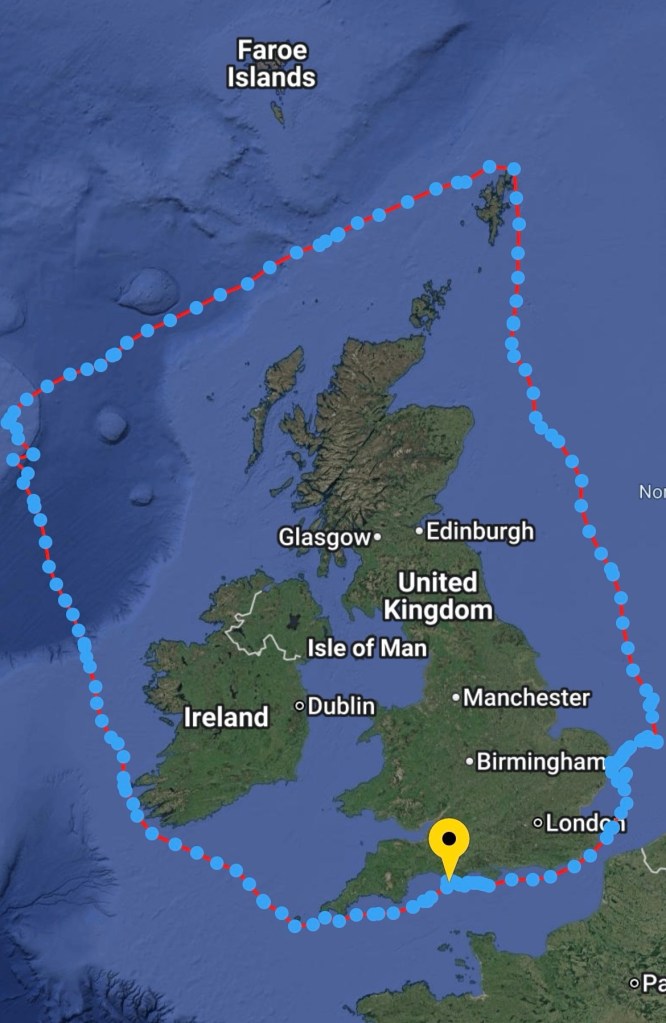
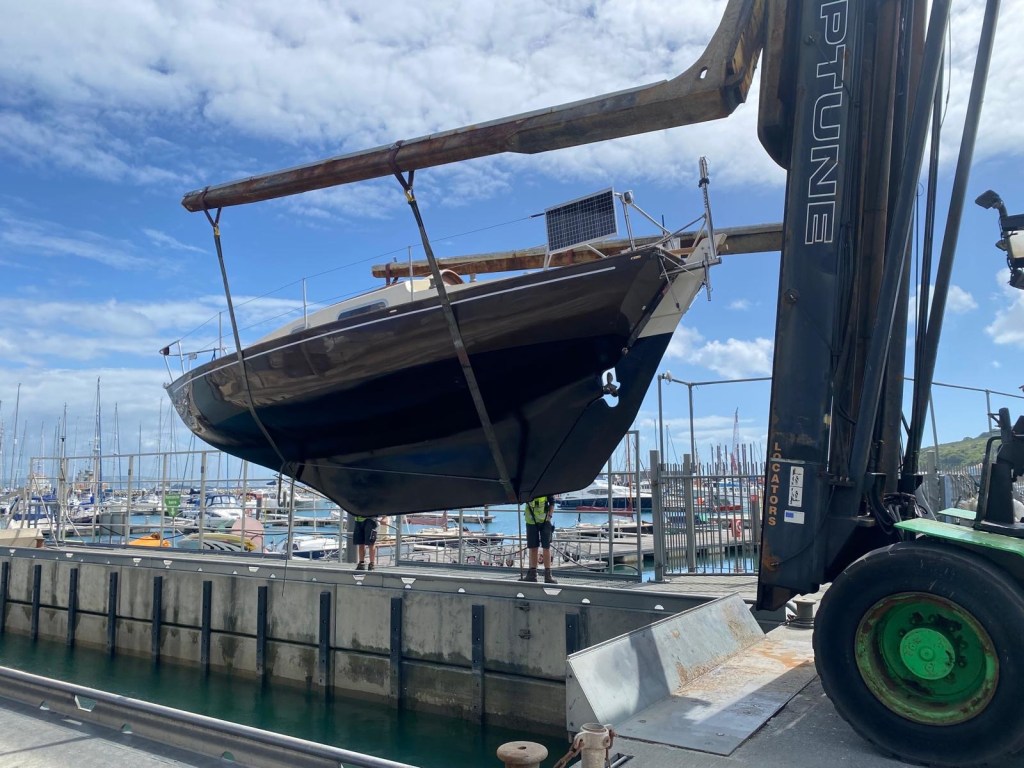
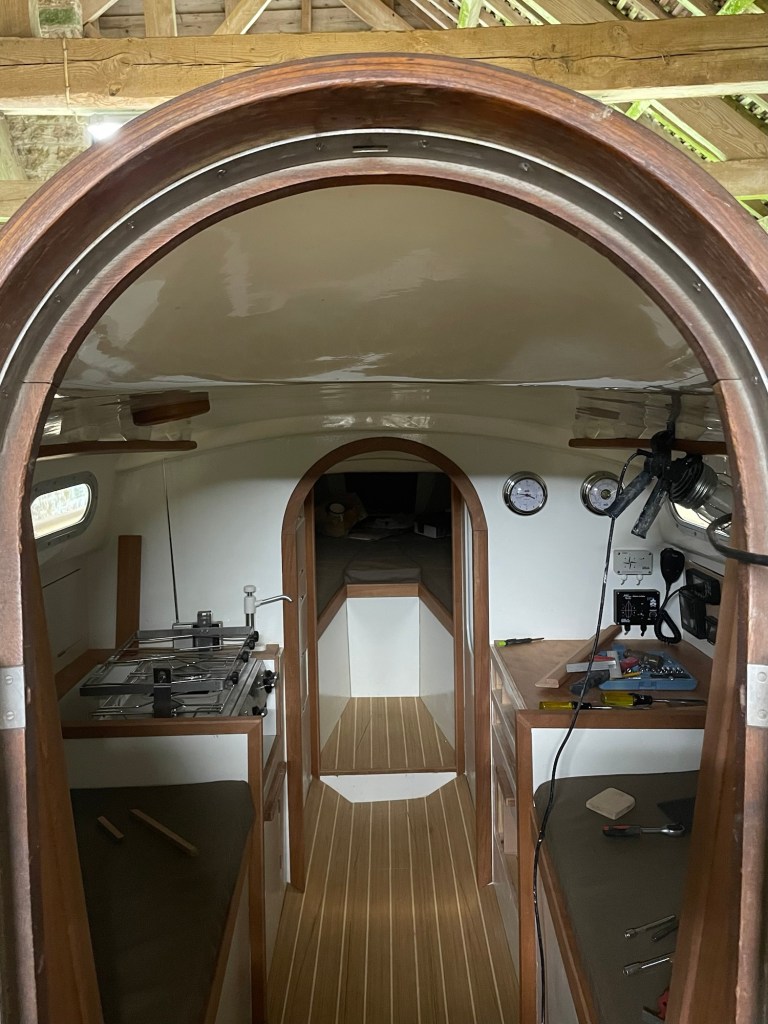
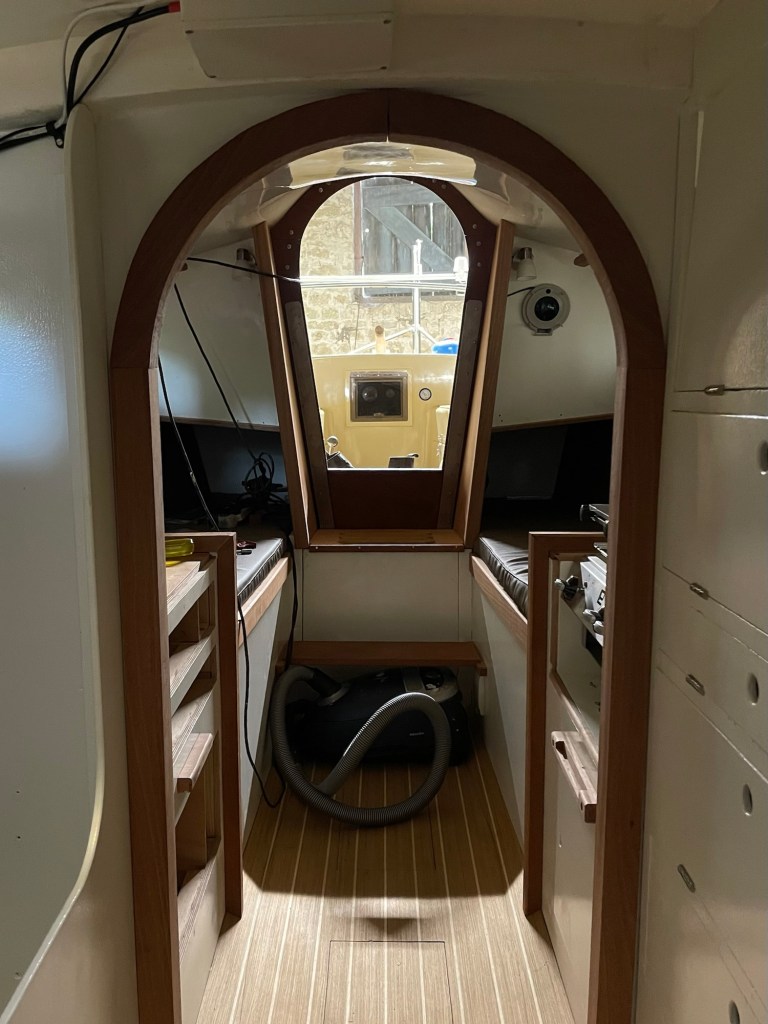
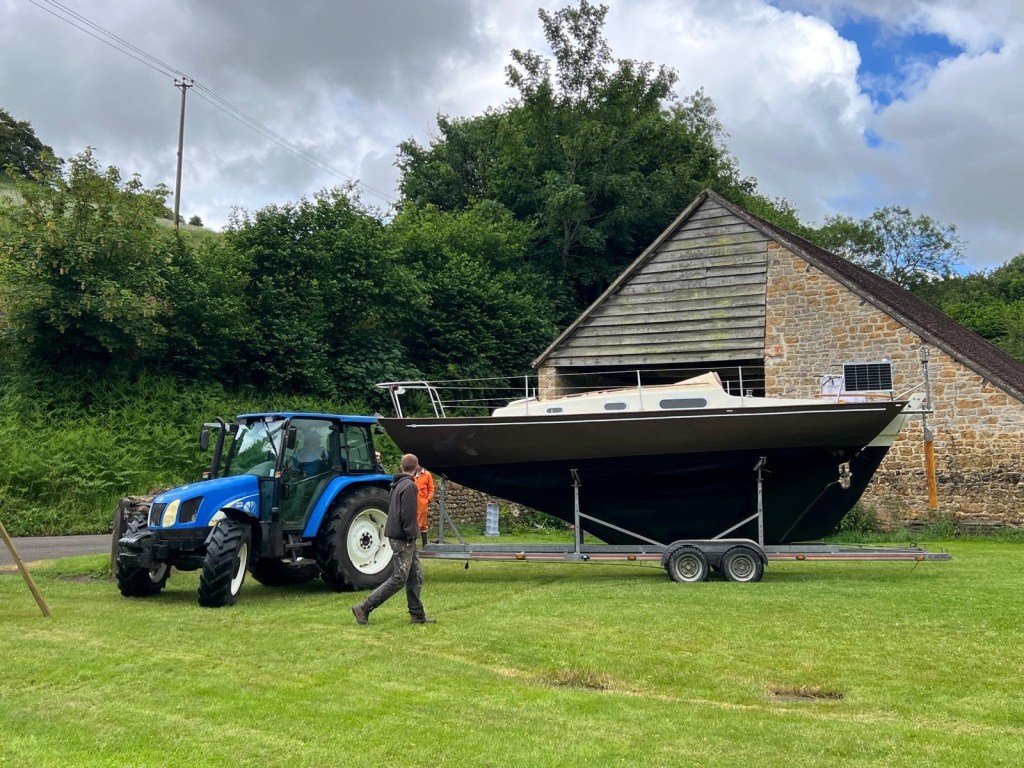
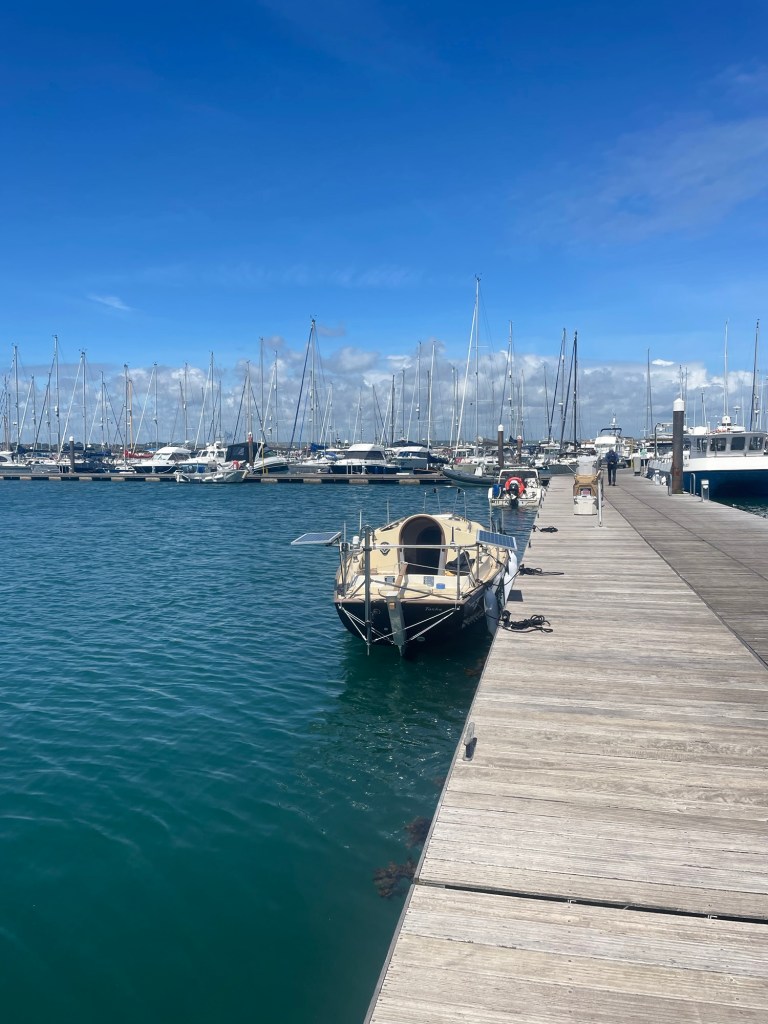
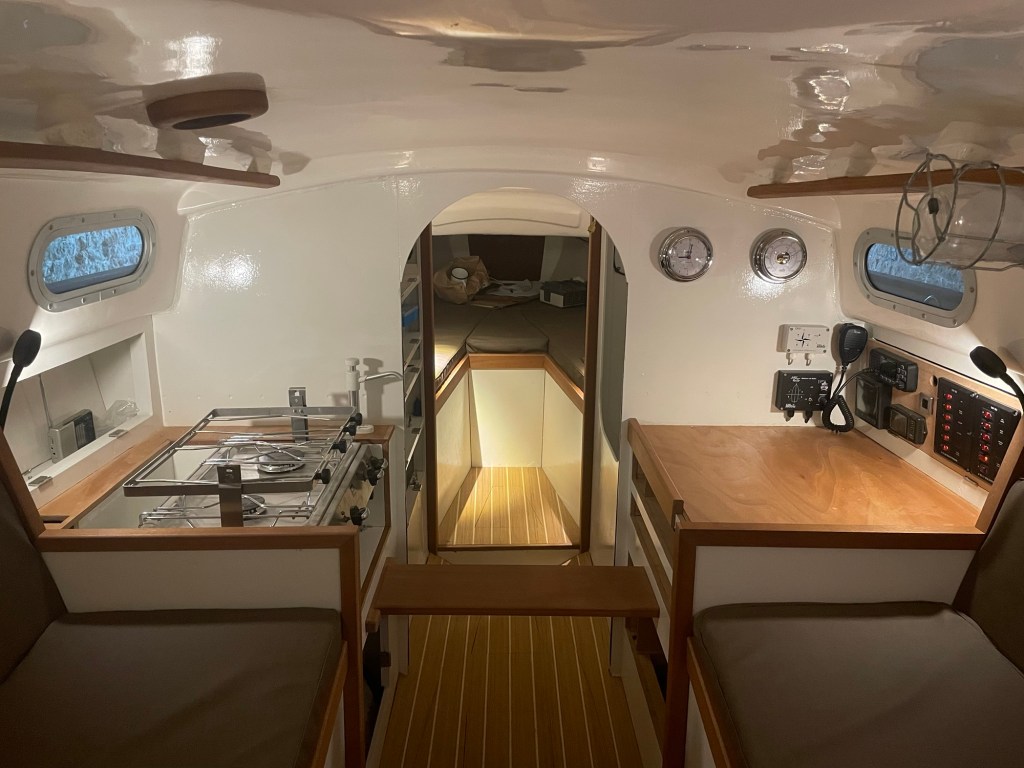
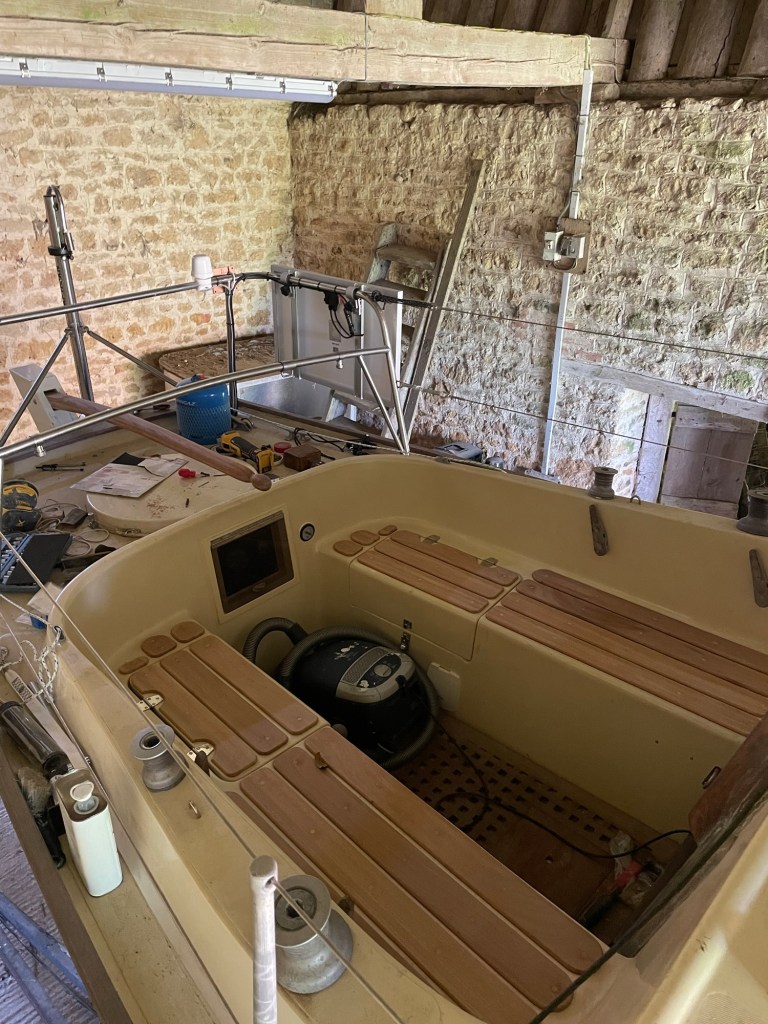
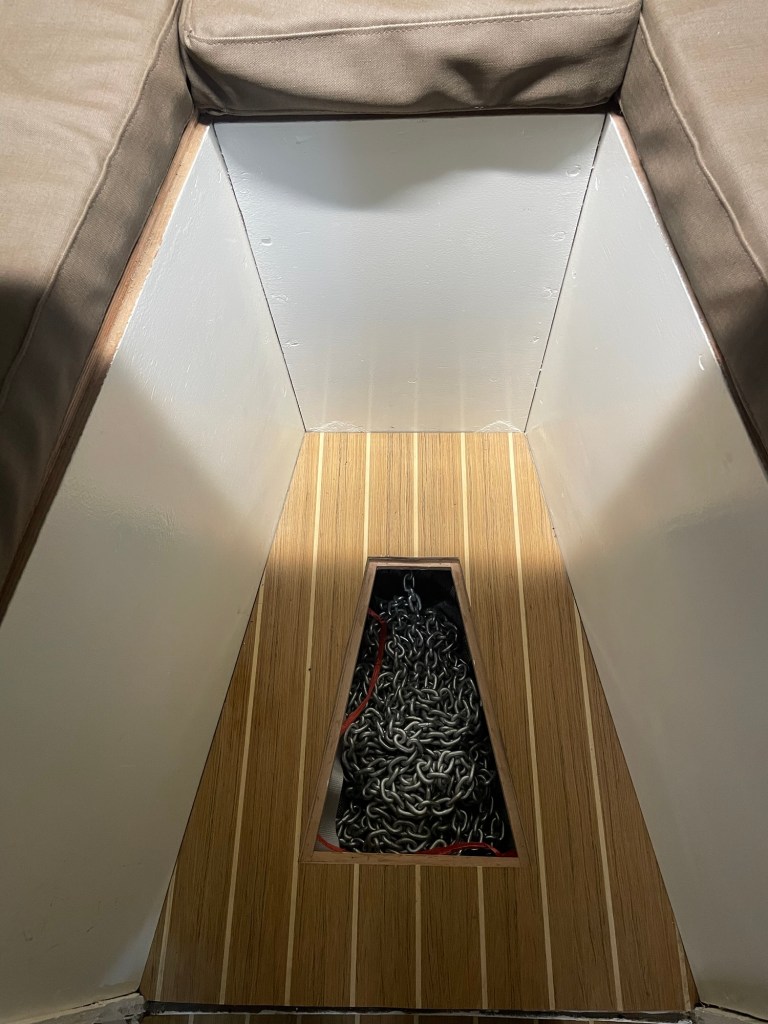
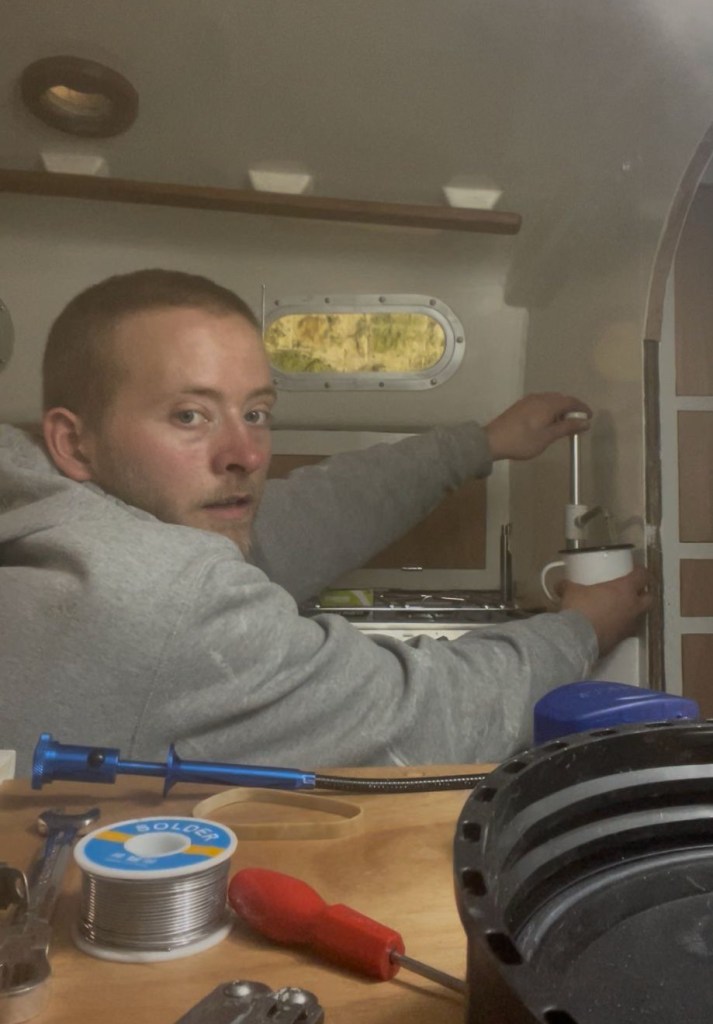
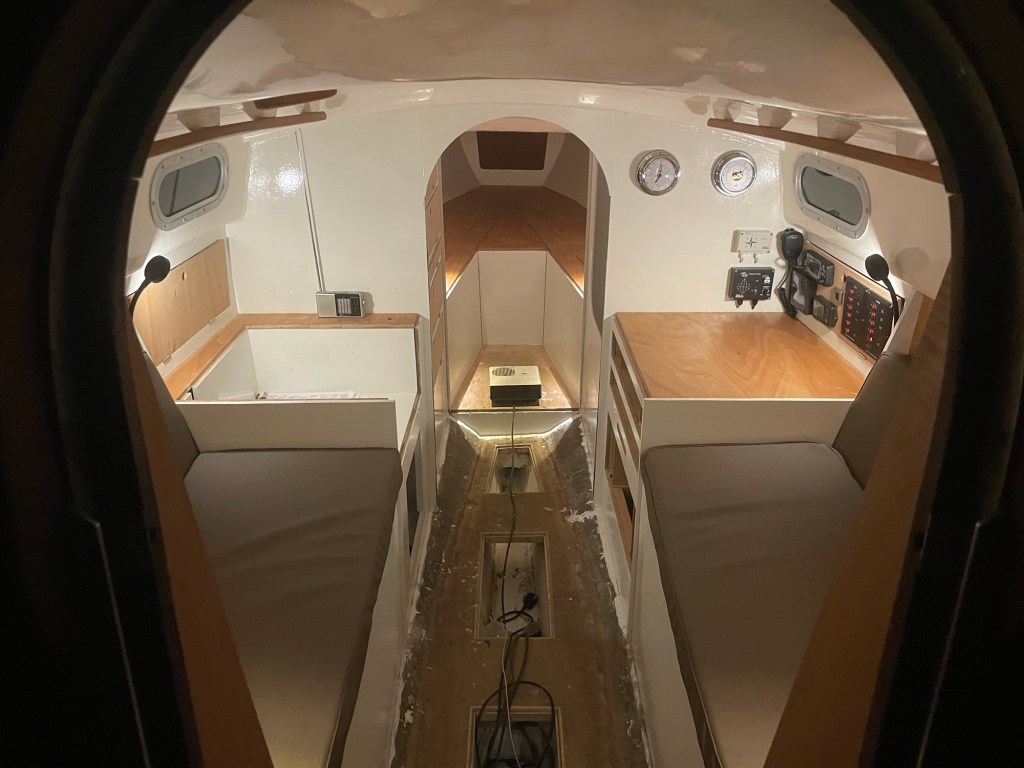
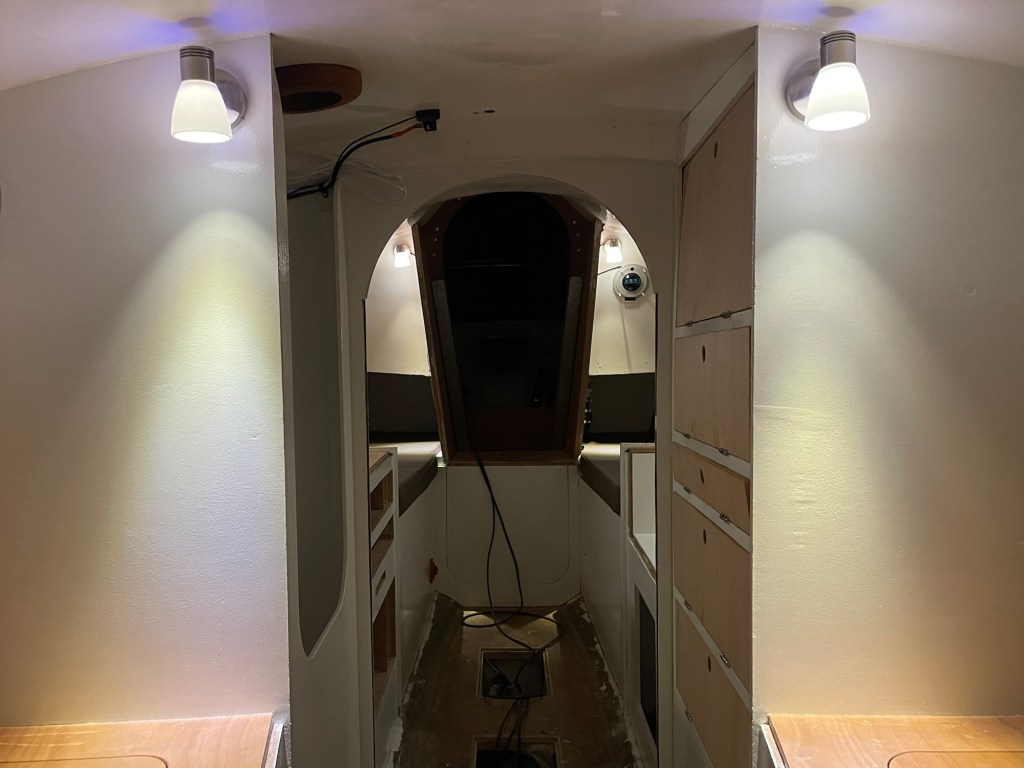
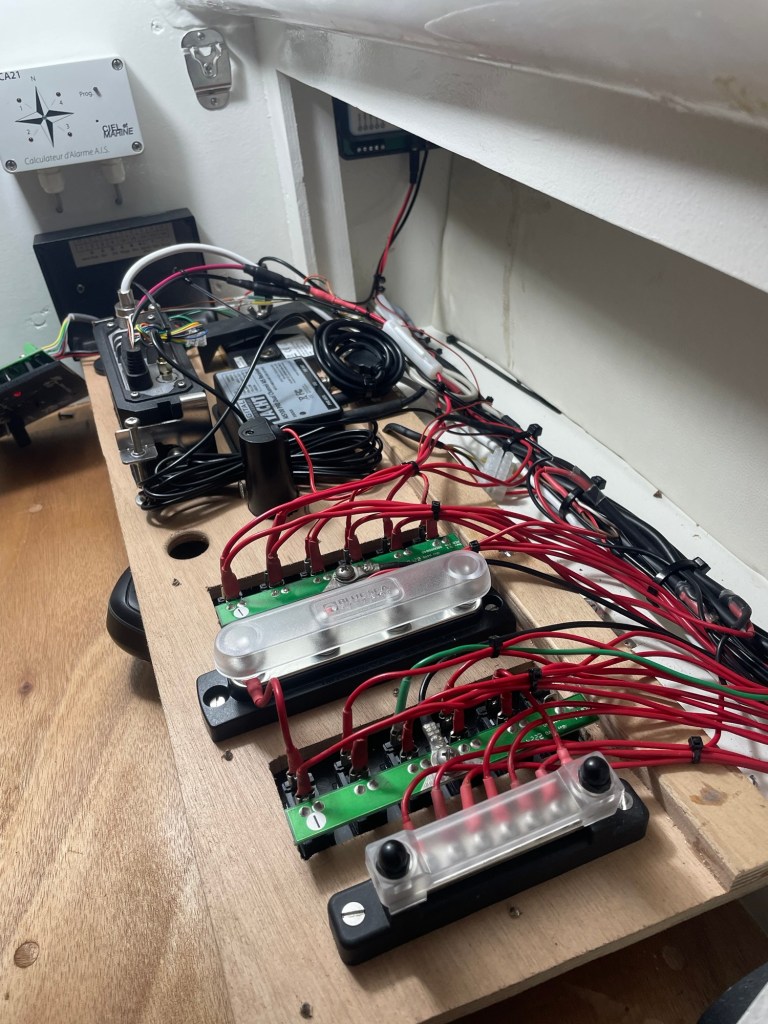
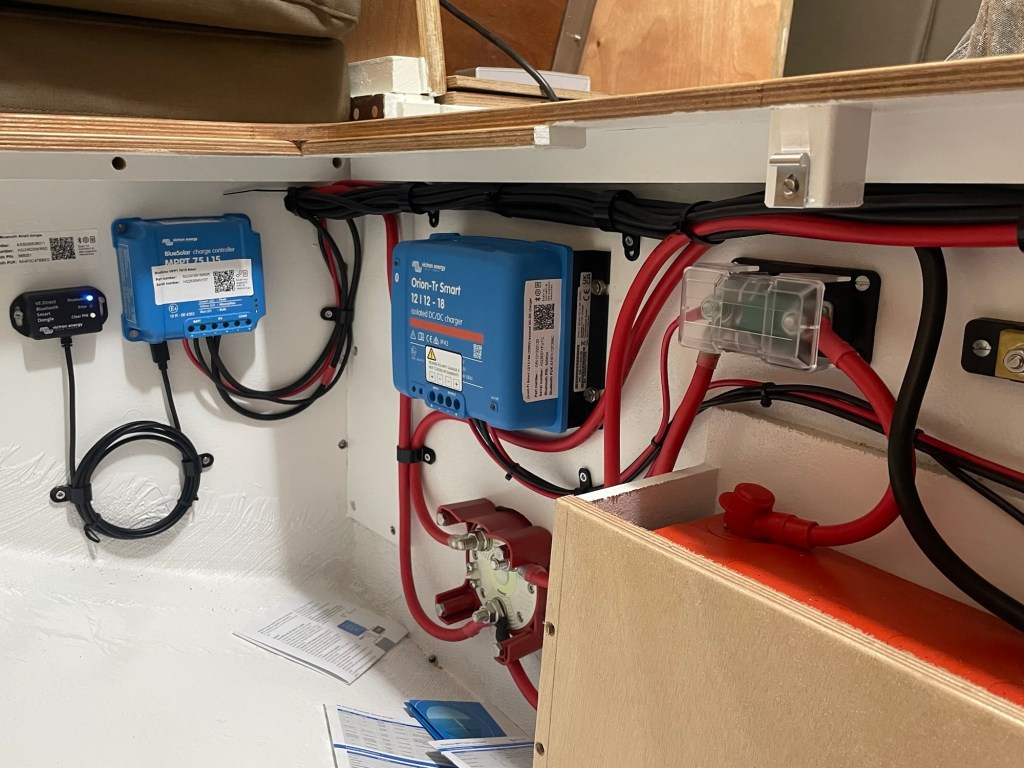
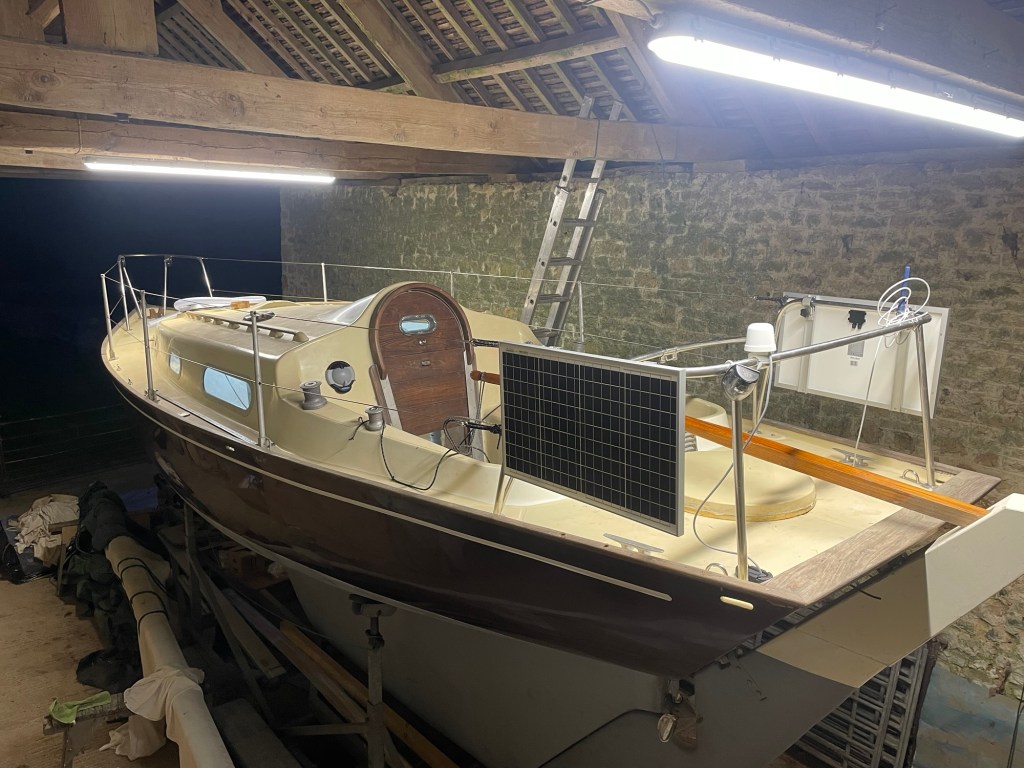
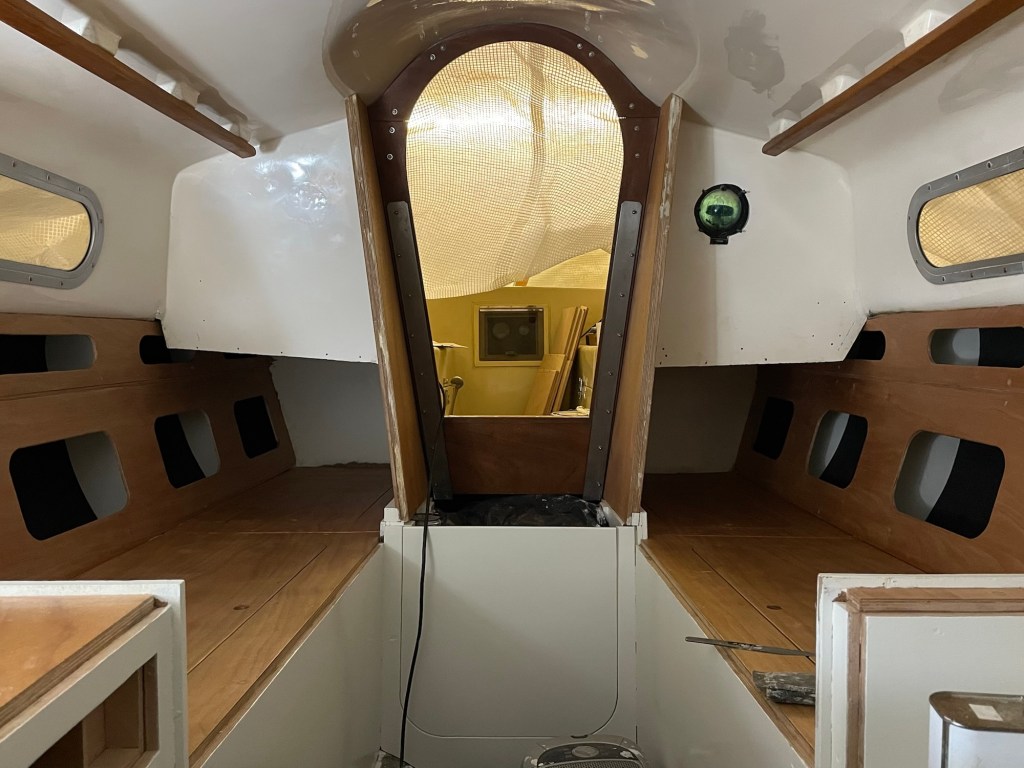
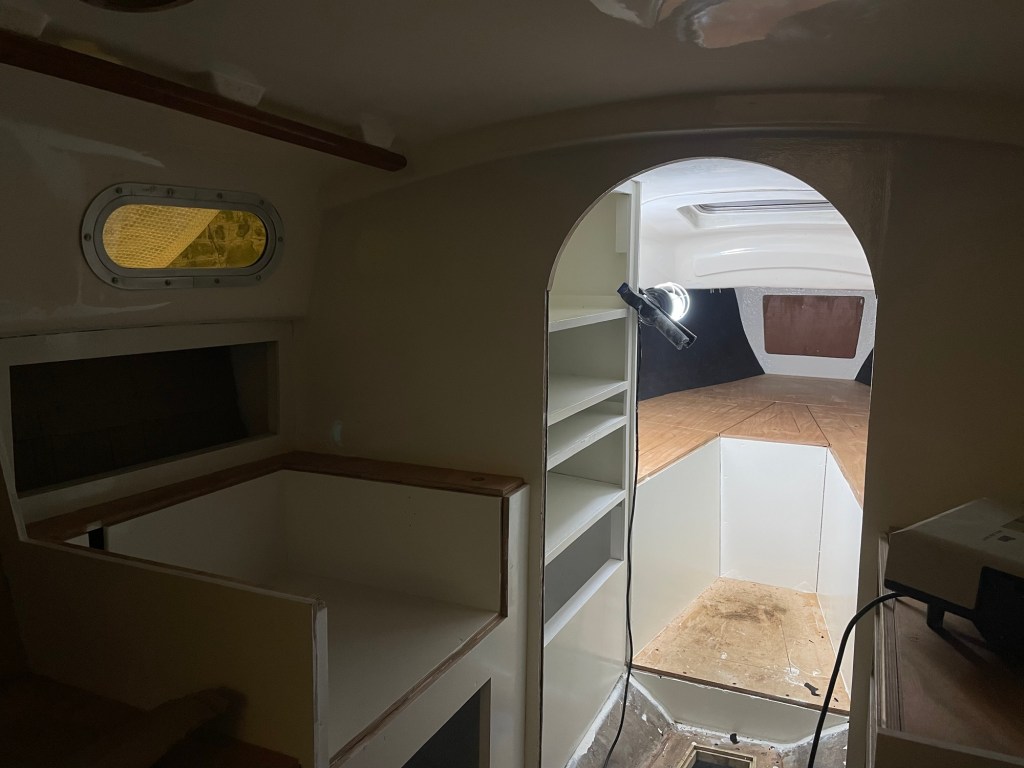
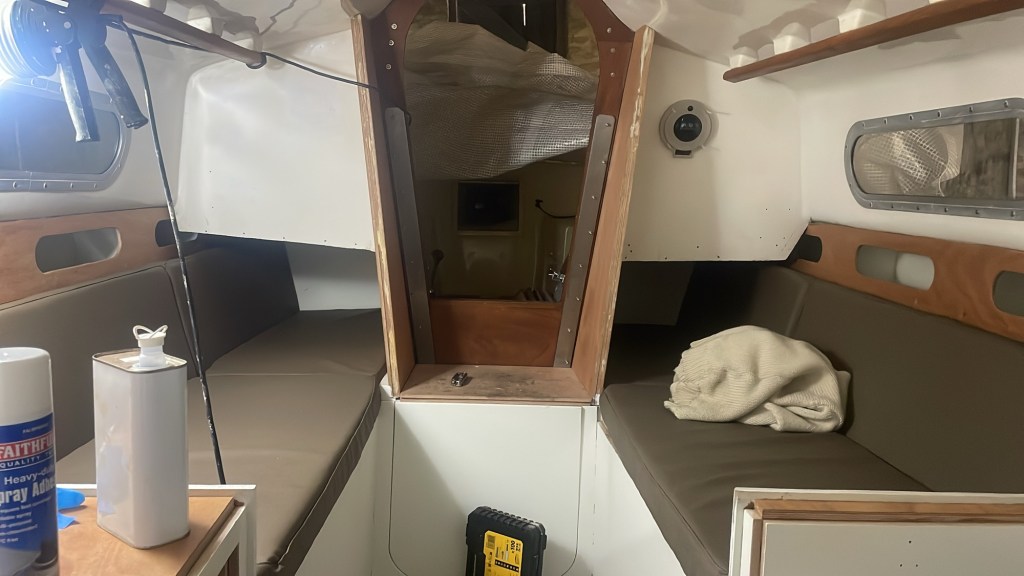
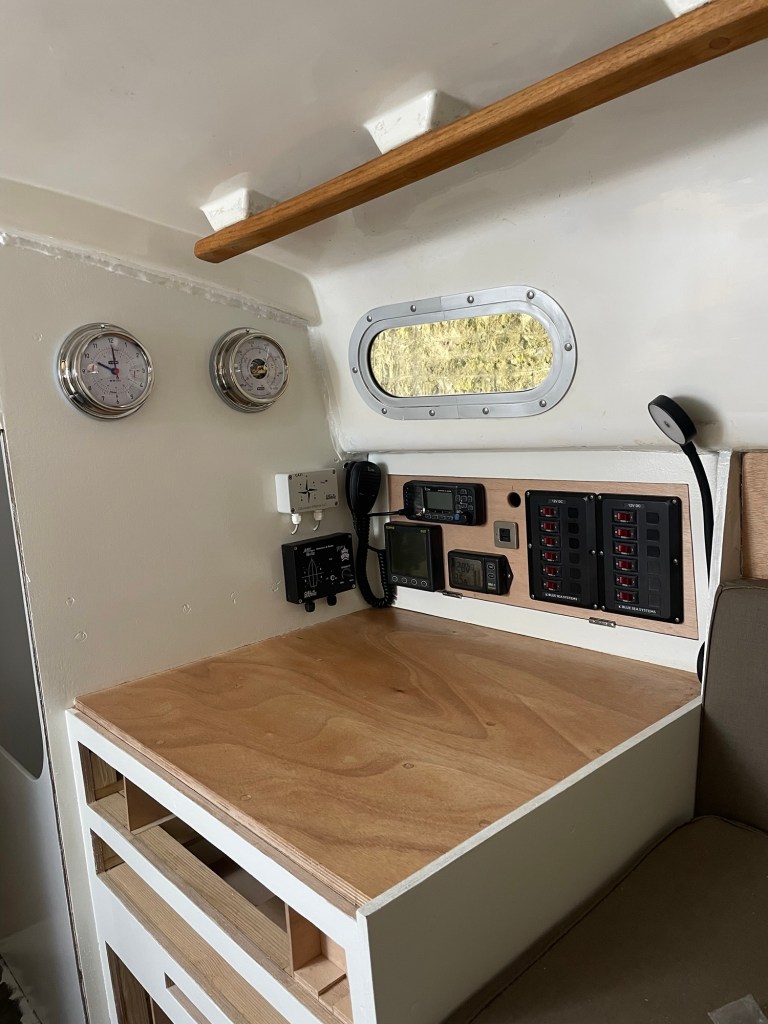
Amidst the exhausting chaos of preparation, a golden weather window appeared. High pressure sitting over the Hebrides was about to bring a week or more of easterlies, a fair wind that would shoot me right out of the English Channel, across the Celtic Sea, out past Ireland and up to Rockall. With the knowledge that the window would open on the following Friday, I knew I could wait no longer for help; I spent three frantic days fitting and tuning the rigging and testing systems before a short sea trial. Though less time than I would’ve liked I knew there were many ports of refuge en route should I need them, and this window was not to be passed up.
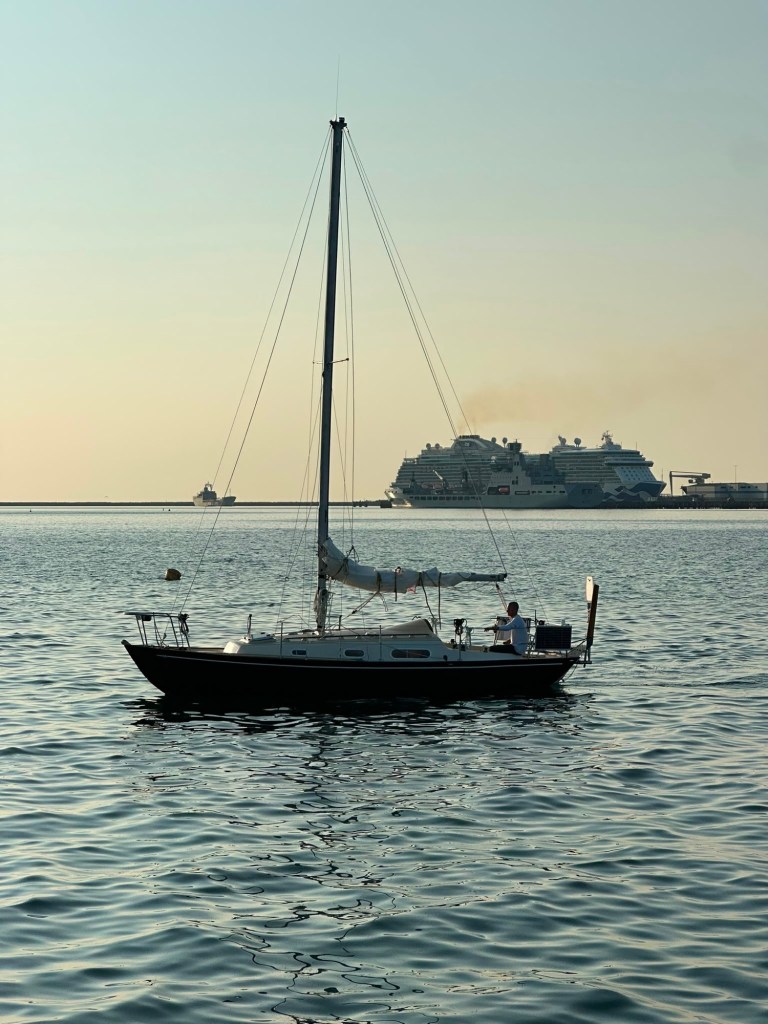
[ Portland to The Scillies ]
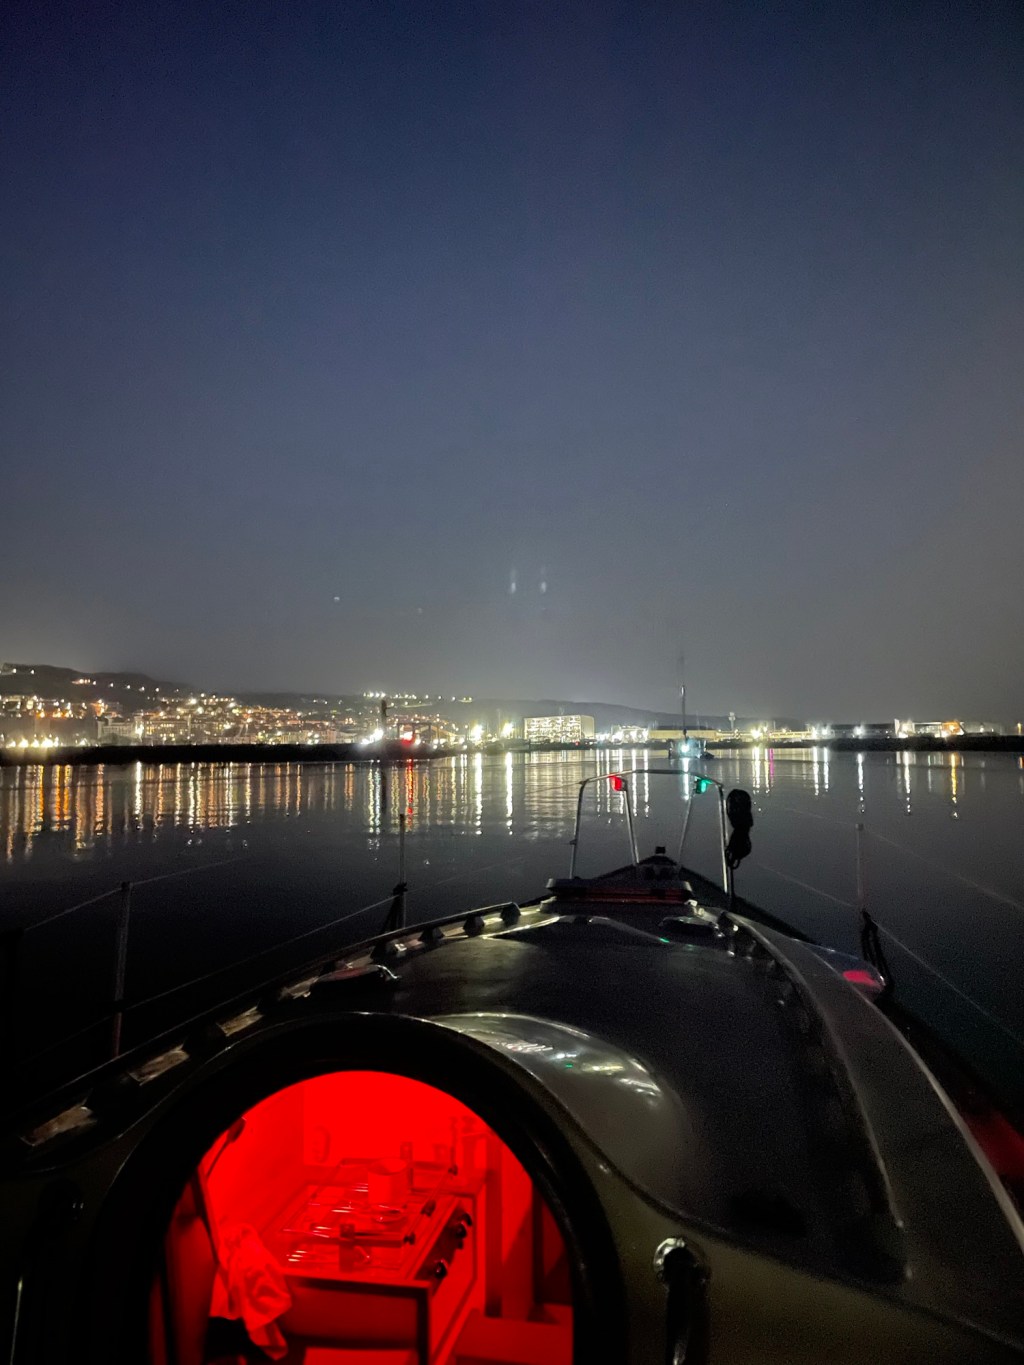
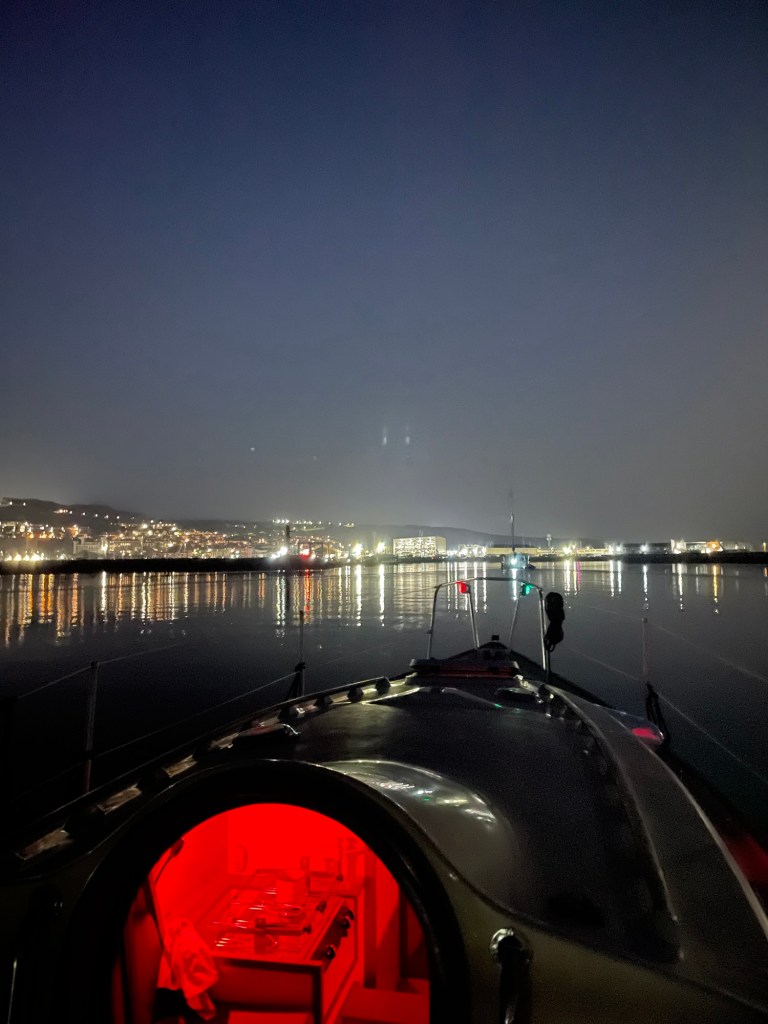
0630 Friday 10th July | 90º | 3.5kn | 0nm | 1-2E | 1026hPa | 50º35N, 2º25W
The log reads:
“Rounding the Bill! No wind, engine on to get round. All good. Happy boy! Happy Girl! Stretching our legs :)”
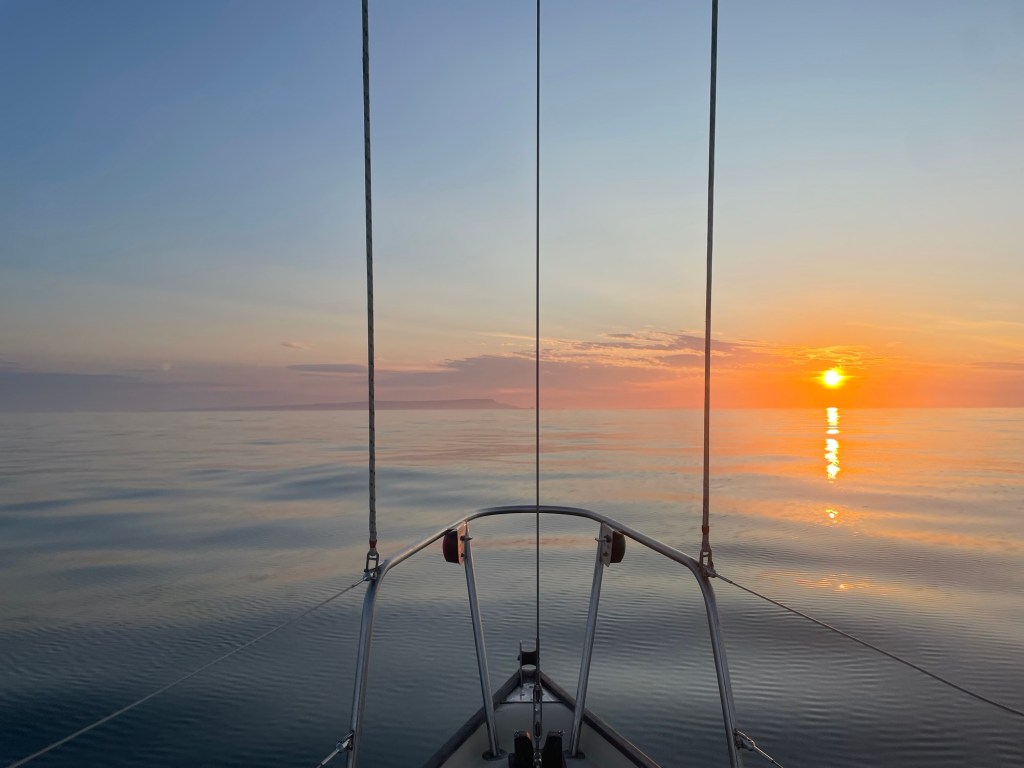
The swell picked up as we left the Bill’s shadow and entered Lyme Bay. Sunshine and dolphins at the bow. The passage across Lyme Bay continued in much the same way. Tide gently playing with our progress, wind light and occasionally fluky but in the east. As we pushed out south and started to come across shipping, as turned out to be the theme in the Channel, navigating became a juggling act between staying inshore of tanker traffic and offshore of the coast and the english fishing fleets. I stopped myself looking too long at the big chart, the big picture. One step at a time, one sea at a time.
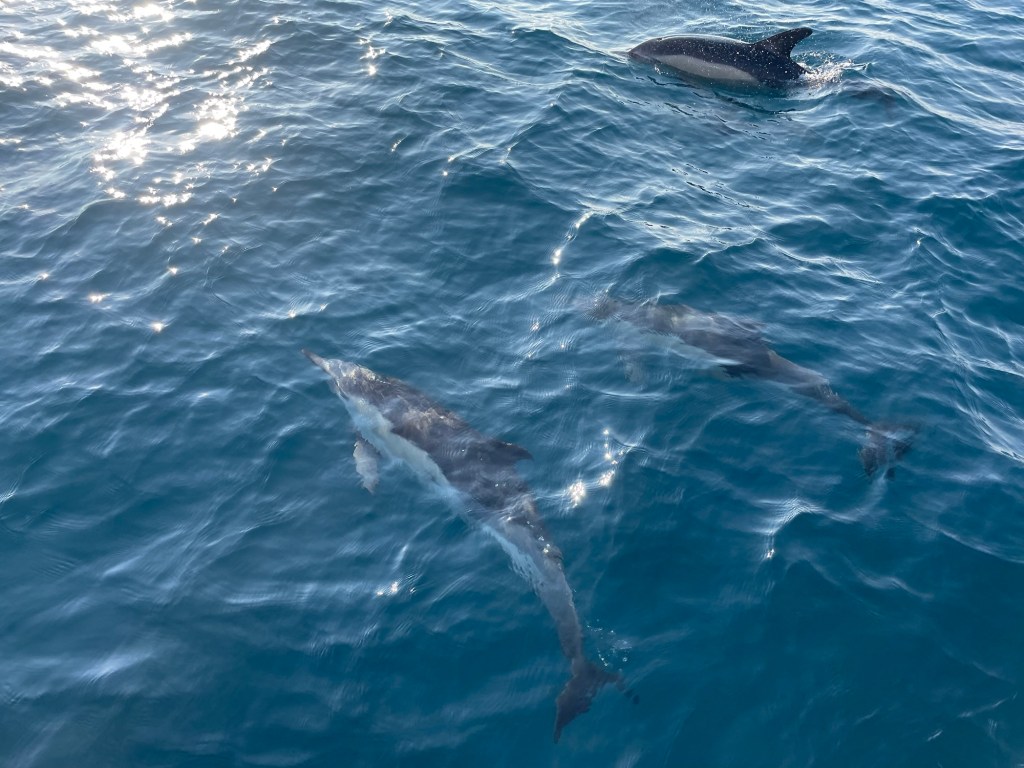
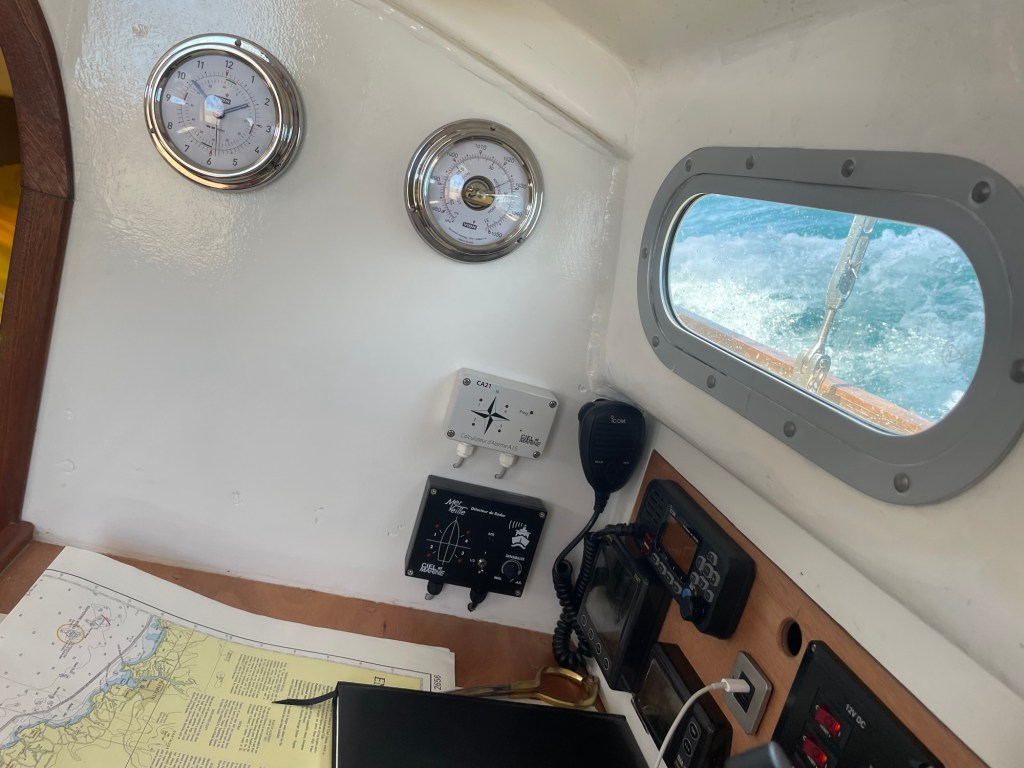
It was on this first evening that I began to get acquainted with the AIS (Automatic Identification System) and Radar (RAdio Direction And Range) alarm systems I had set up on board. The alarms alert you to a nearby vessel with an incredibly loud and jarring buzzer and a flashing LED which increase in frequency and duration the closer it is. Consequently, in the busier areas of the UK’s coastline, unless turned off for your sanity (at your peril!), the sound of wind in the sails, lapping waves and squeak of dolphin chatter is constantly and incessantly interrupted by the excruciatingly painful sound of the alarms. It’s a love hate relationship.
In the morning the easterlies picked up to 4-6, and shot us downwind: Start Point, Salcombe, Plymouth, Fowey, Falmouth, The Lizard, Penzance, Land’s End. It was so exciting to be making so much headway so quickly and so early on; and fantastic sailing! We rounded The Isles of Scilly at a similar time the next morning.
0200 12th July | 300º | 4.2kn | 164nm | 5E | 1026hPa | 49º51N, 6º30W
“Passing the Bishop! Goodbye Scilly! Goodbye England! Heading up to Ireland. Happy T.”
“Phosphorescent dolphins!! Surreal! Tarka’s flying! Loving it.”
Once passed the Isles of Scilly we really felt like we were getting somewhere. Leaving the Channel meant leaving busy shipping lanes and was the first time we had no land on the horizon, a big relief!
[ The Atlantic Ascent ]
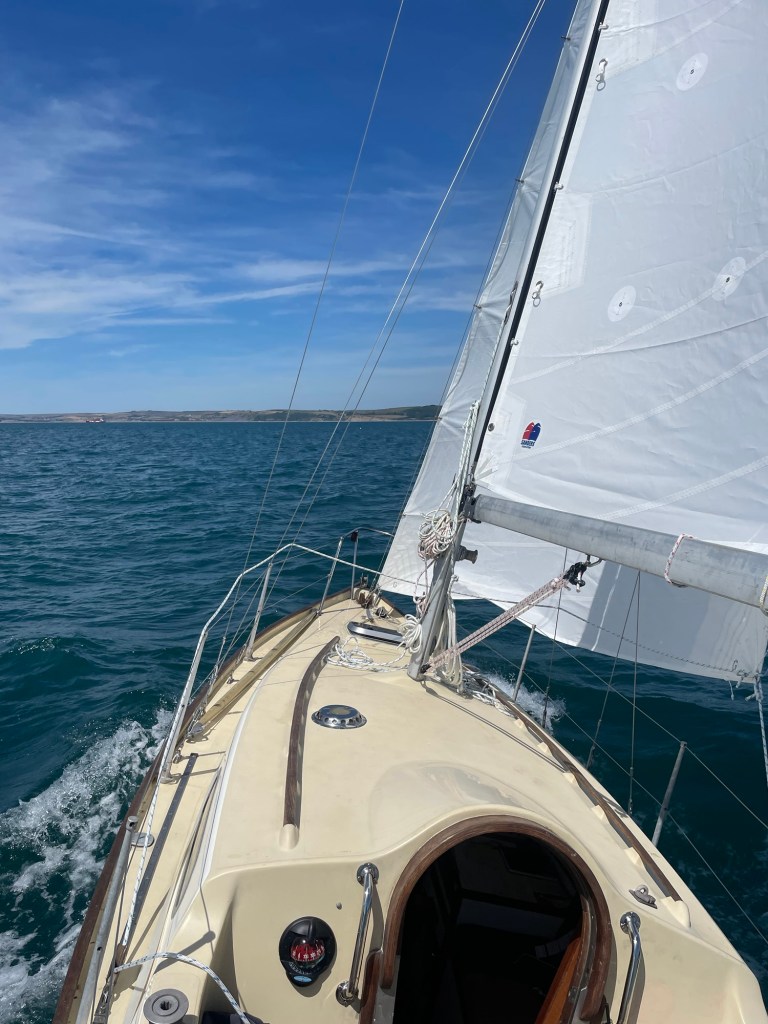
Through the 12th we charged up through the Celtic Sea, wind increasing to 5-7 and the sea state: moderate-rough. Tarka being so solid, my trust in her rapidly growing, and the dense insulation I installed keeping the cabin quiet, all meant that on this occasion I didn’t think much of the increased wind, wave height, or angle of heel, until I happened to poke my head out of the companionway. The wind had a new sharp feeling on my face and the waves were not only higher but much more frequent and very steep. They broke over the bow regularly and solid water rushed over the foredeck. I had two reefs in the main but was yet to replace the big Genoa up forward with a smaller jib, which was now heeling us over 30º. I had put it off for far too long, the Genoa had to come down. I nervously clad wet weather gear and harness, made my way out of the cabin, clipped in and crawled forward. Kneeling on the bow I wrestled with the canvas, trying desperately to fold it in some kind of manner organised enough to fit it into its sail bag; at the same time keeping an eye to windward and pausing intermittently to hold onto the pulpit as waves well over 3m above my head crashed down onto me, solid green water slamming into my side, my face pressed into the deck, jaw clenched, knuckles white.
1635 12th July | 300º | 3.5kn | 225nm | 6-7ENE | 1029hPa | 50º45N, 7º51W
“Wow. Back to school. Wind picked up. Reef Earlier! Down to Tri-reef main+st.jib. Lost Genoa halyard. Dodgy fittings…”
“Back in control./Calmed down. Tunes on 🙂 Fulmar”.
Fortunately I had a spare halyard rigged and ready to go.
Shaken, we spent the next few hours so heavily reefed down as to not have the power needed to make much way through the swell and breaking waves, so in a moment of madness and with the Irish coastguard declaring a ‘small craft warning’ with an unreassuring and inconclusive ‘6 or more’, I put the Genoa back up! And spent the night once again very overpowered, nail-biting and sleepless, racing downwind towards Fastnet at 7 knots.
[ Into Deep Water ]
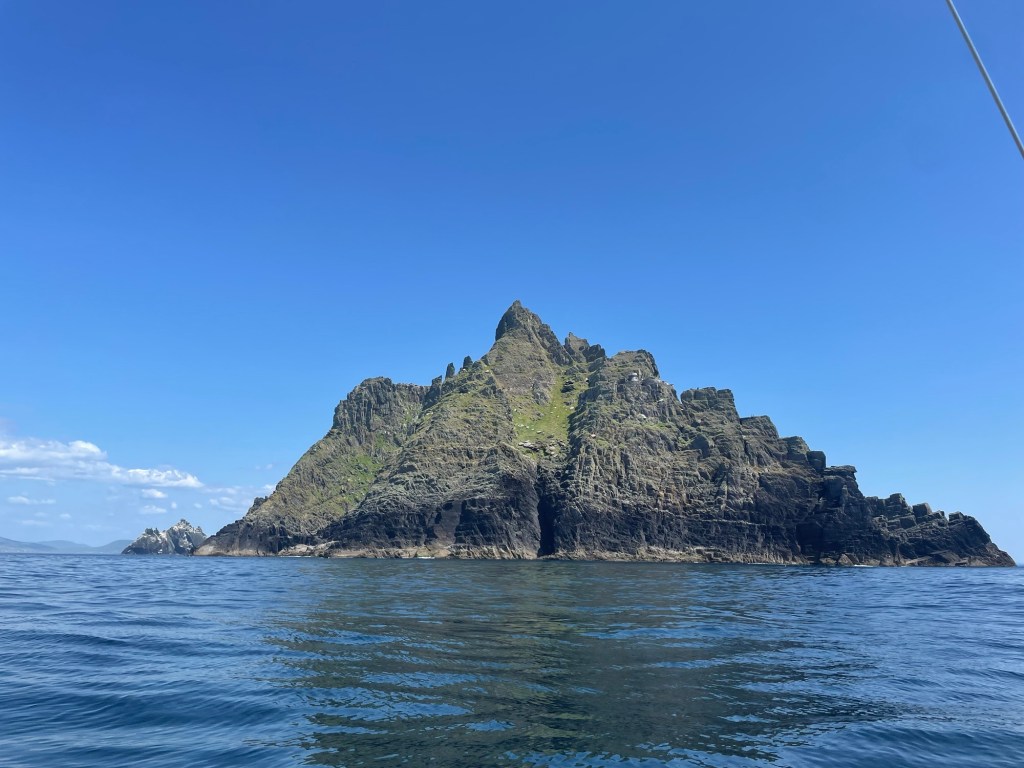
The wind abated the following morning as we passed Fastnet, Mizen Head and The Bull. I found signal at last and caught up with family over the phone, telling them about the previous day’s fun as well as more general news. Then the wind dropped off completely so we motored up to the absolutely spectacular Skellig Michael (Great Skellig), and his little sister, the serrated Little Skellig.
24 hours later and the wind had filled in from the NE, just permitting our close-hauled course of 343º T towards our next waypoint: Rockall, 360nm away. The uninhabited rock rising just 16m out of the North Atlantic, 200nm west of the Outer Hebrides was a slightly ludicrous waypoint, for a round-the-uk, though it is in the UK! Just an excuse to get offshore really. And so, from the morning of the 14th we struck out on starboard tack into the deep blue North Atlantic, colder as we went, though the sun shone; and fulmar circled overhead.
1448 15th July |343º | 3.3kn | 463nm | 2NE | 1030hPa | 54º35N, 12º01W
“Log adjusted – previously under-reading. (Keep measuring/checking). Noon lat. sight: 54º26.2N -> 5 miles out ish. V good.”
That afternoon, between fields of by-the-wind-sailors, we sailed through a pod of Pilot Whales fishing. Massive, bulbous and jet black they were, and quite disinterested in Tarka.
A Brief View Through The Window
It’s beautiful, this business of sailing.
To plant oneself deliberately, in a situation of constantly evolving forces.
It is to make the best of what is and what has been.
There seems to be no environment so immediately dictated by conditions of the present. Infinitely changeable, infinitely complex and playing out right in front of our eyes.
Both so beautifully devoid of and yet so alike human emotion.
Remarkable are the many faces of the sea.
The boat itself, like us, is an organism, carefully designed to support the experience of existence.
And like us, is designed to perish with exposure to the very environment it was designed for!
2030 16th July | 330º | 5.4kn | 582nm | 5NNE | 1034hPa | 56º38N, 13º22W
“Heavenly sailing. Fast approaching Rockall. Jarrett to accompany us. Feeling a bit PTSD-ish now for this strengthening wind. Though these waves are moderate at most. If in doubt – there is no doubt.”
“Did it! Took it down and put jib up like a pro! Going same speed and much more control.”
The jib remained up for the rest of the passage.
2047:
“Tacked to stay on chart. (80ºM). Feels super weird! Like everything – reality has just mirrored. Bizarre. Need to learn to trust everything again! Whole new world!”
My desire to stay on the small scale chart of the UK that I was using for this leg, though I knew there was nothing on the other side but water, meant that despite knowing the wind was backing to the north, I tacked east and was forced to spend 24 hours beating up to the damn rock. My spirits lifted on our approach, as the number of seabirds started to grow. Our trusted but flaky friends the fulmar and the ever-present and ever-distant gannets were joined by bullying skua and then for the first time, the newest member of the family: the extraordinary european storm petrel! A tiny bird, no bigger than your hand, black, with a single white patch on its lower back, darting effortlessly between the waves, and fast! Both so simultaneously out of place and right at home!
2152 17th July
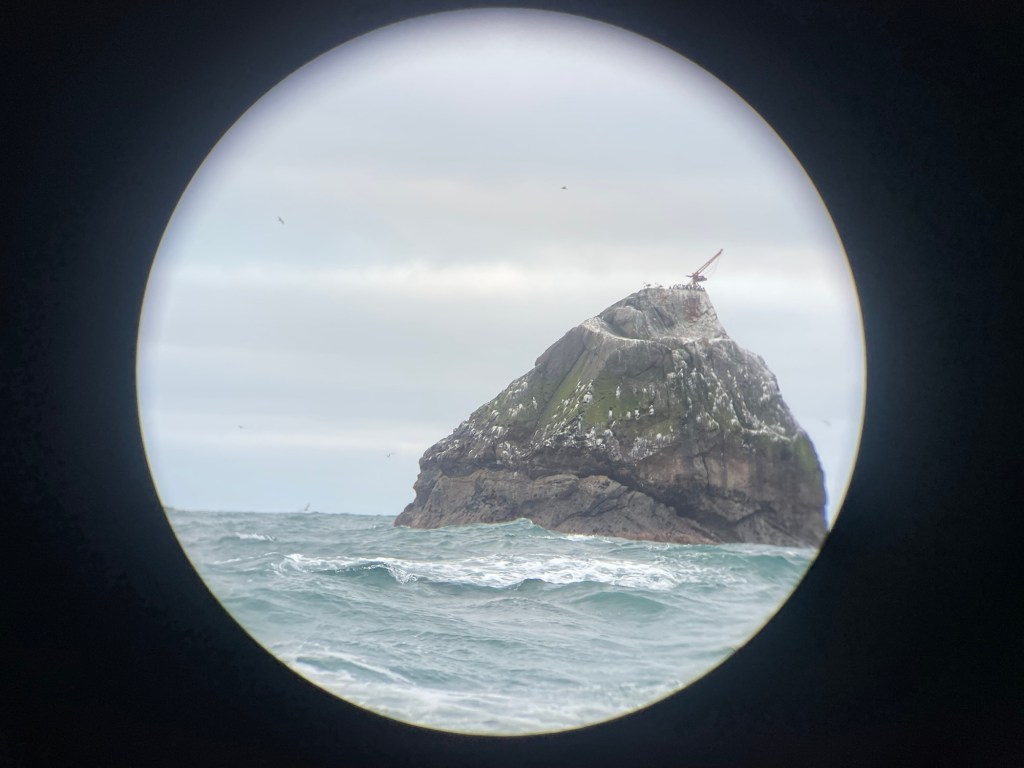
“ROCKALL!! We made it!”
“So tiny! A spectacular anomaly in the otherwise incredibly deep North Atlantic. The famous Rockall! Of shipping forecast fame! Now we’re in on it!”
“Big relief! – Of days spent close-hauled. Constantly pinching. It’s exhausting. Tarka stretches her toes now!”
“Constant mid 6’s. Next up – Muckle Flugga. 437nm 058ºT.”
[ Across The top ]
I watched Rockall disappear below the horizon, and wondered how different life might be, where I might be heading, should I ever cross its path again. We raced on into the night. A dark clouded night with a strong breeze from the north, spray dousing the cockpit, and the sound of water rushing past the hull. I lay on the lower bunk, trying to rest between my regular alarms. Off Rockall shipping was very scarce, and the very alarms that drove me to insanity in the channel fell silent, allowing me to sleep for up to 4 or 5 hours at a time. With complete trust in Tarka’s seakeeping ability now I could relax and sleep on demand. I loved how attuned a was to her: her speed, angle of heel, power in the rig. Even a wind shift would wake me up as it resulted in the windvane altering our course relative to the swell. It was a 24/7 raw sailing experience and I was absolutely loving it.
The wind dropped the following afternoon and with high cirrus blanketing the sky it was suddenly cold. A splash from a wave in the morning left me with wet sleeves all day. I knew if I took them off, especially at that high latitude of 59º North they would never dry, so I smothered them with more layers, closed the companionway, filled the cabin with steam from the kettle, and hibernated. I felt a short pang of loneliness in the grey featureless seascape. I looked south, looking down from above at all those I love.
0630 19th July | 60º | 4.6kn | 849nm | 4-5N | 1038 hPa | 58º48N, 09º58W
“Had a beer last night. Feel delirious this morning. Confused. Keep thinking we’re near a road? Maybe brain just in dream mode.”
“Very cold outside! Battery 70% – no sunshine.”
“Brain trying to fill in for lack of stimulation?”
“I know this is where I belong, out here. Yet today I feel directionless. I suppose it’s like sitting through a calm. This too will pass. I don’t know – or at least I’m trying not to search for meaning. I know it’s a fruitless search.”
Do not forget the novelty, because it is one:
That novelty of existing.
Do not forget to breath it in,
Let it chew you up and spit you out,
And be grateful for the wild ride.
“I love to stand on deck at the mast. From here I can look all around and see it all play out. I’m playing the same Sandy Denny songs over and over again. I like how it sounds – comforting.”
No End – Sandy Denny.
‘…Why don’t you have no brushes anymore?
I used to like your style.
I see no paintings anywhere,
And there’s no smell of turpentine.
Did it really have no meaning?
Well I never thought I’d hear those words from you.
Who needs a meaning anyway,
I’d settle any day for a very fine view.…’
“— That we have”
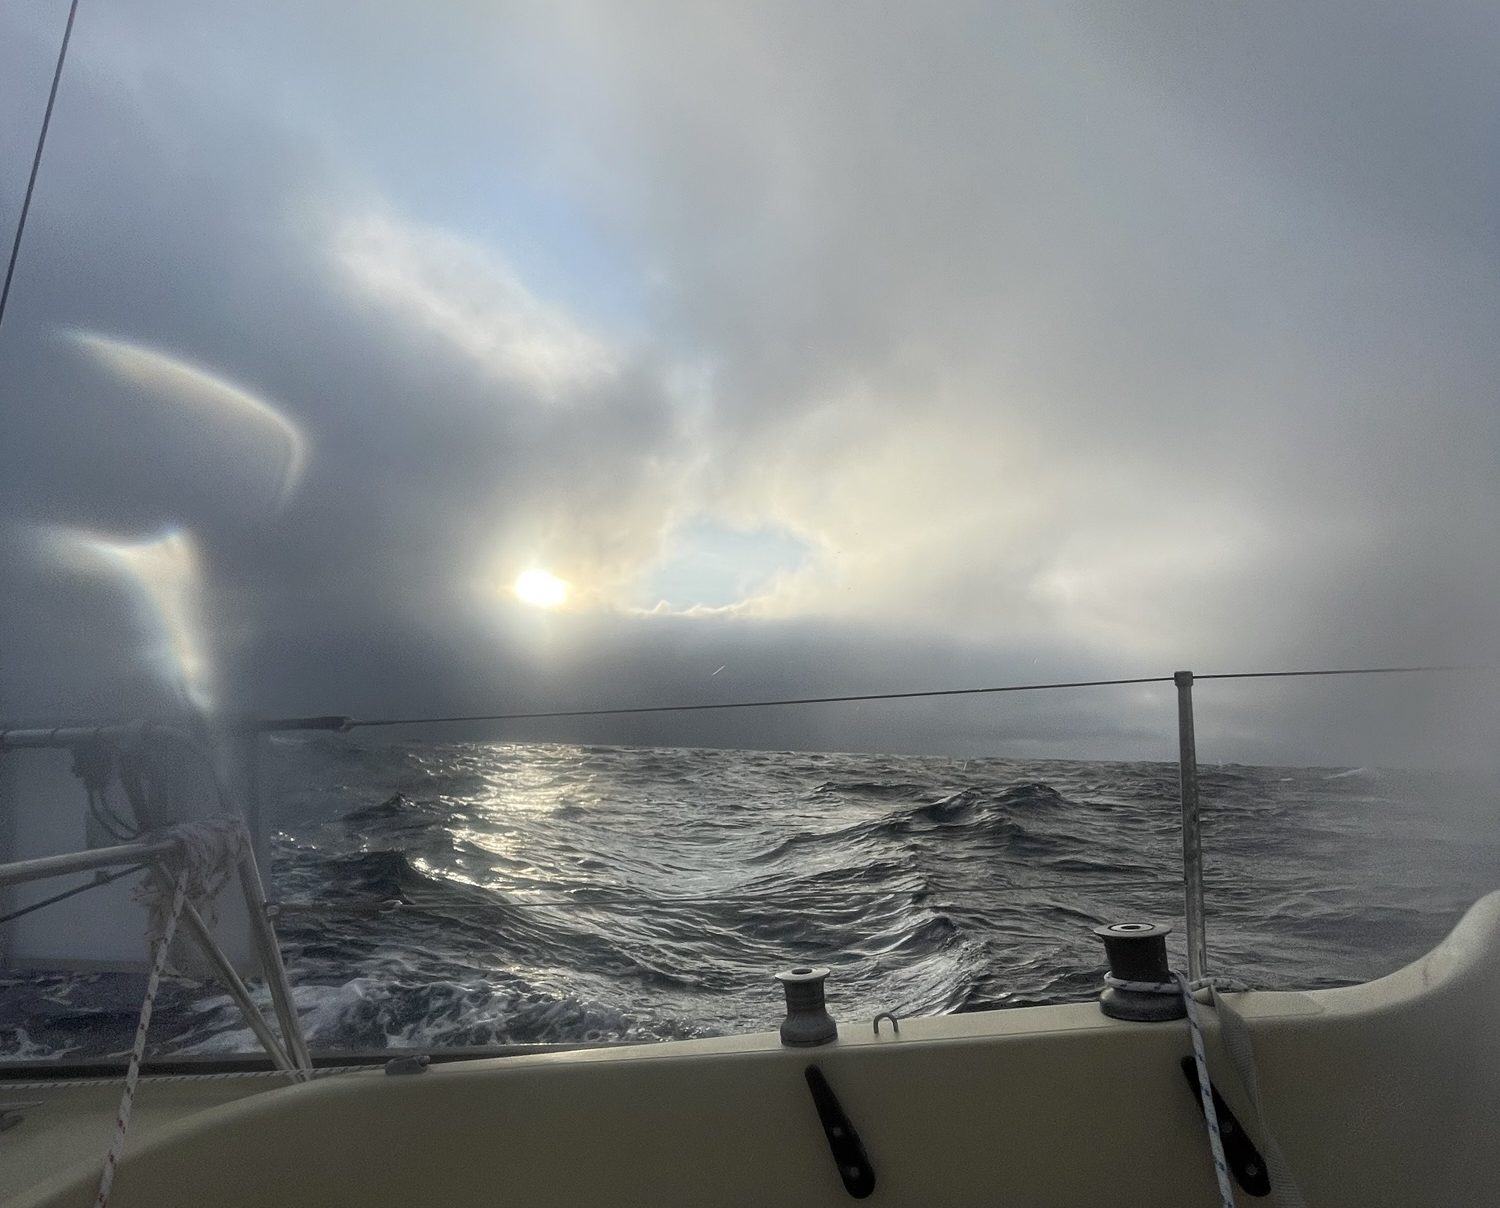
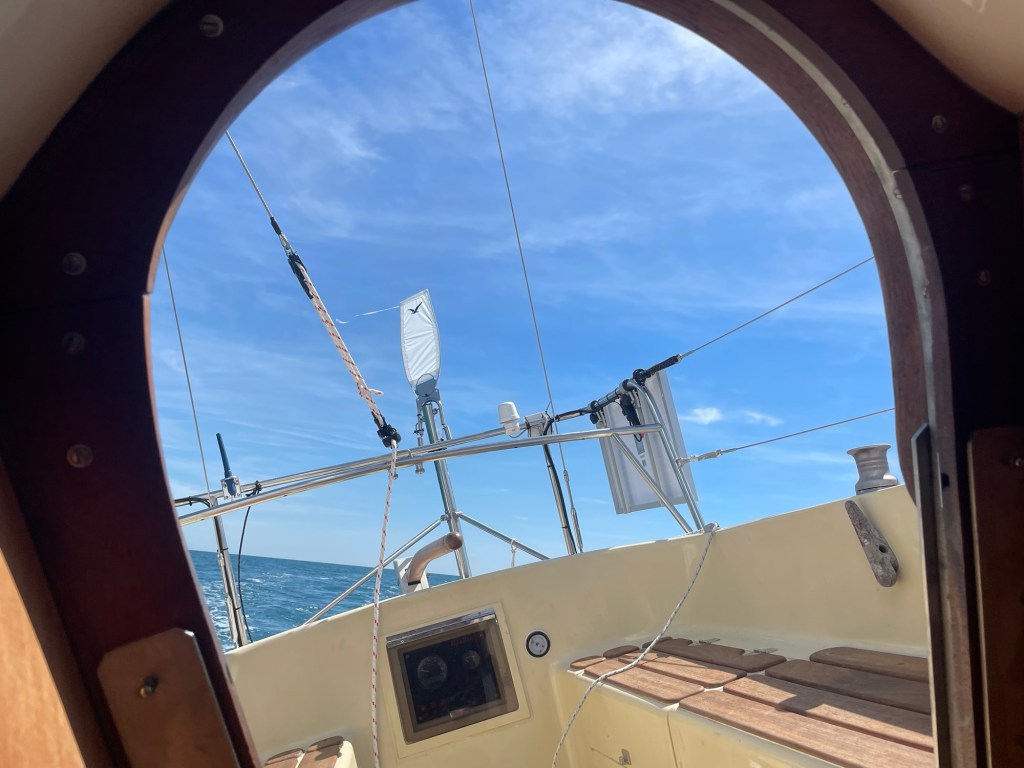
“I had the washboards in for a while, but didn’t like it. It made me feel like was looking out of a spinning washing machine. Have been having very vivid dreams recently. Characters past and present.”
“Minke!”
The closer we got to Shetland, the stronger the wind, and the higher the waves became. But we were ready! When a message came through on the sat-phone from Dad of an approaching fresh breeze – near gale, I immediately put 2 reefs in the main and swapped the light canvas wind vane for the heavy weather metal one. I refused to be caught out. We were racing along having sailed 134 miles in the last 24 hours.
2039 20th July | 70º | 4.3kn | 1046nm | 5NNW | 1035hPa | 60º15N, 4º16W
“Yet to pick up – trying not to be too excited for a big downwind moment but struggling!”
2237:
“Picking up now. Nice bit of surfing. Just a little.”
0200 21st:
“Pretty fast surfing. Log defo under-reading. Feels like she’s planing. Very tender, good though. Phone says things like 7.9kn…8.4!”
As the sun rose we passed our first couple of oil rig, monstrous nightmarish structures back-lit by the morning sun; something out of 1984.
0826:
“Big waves. Breaking. Wouldn’t want much more than this!”
“Trying to keep stern to waves but also not head for the lee shore on Shetland.”
1100:
“Starting to get used to Tarka’s motion in the big seas – she can take the hits.”
“Nearing Muckle Flugga.”
“We’ve been hit very hard by a few waves. Maybe the waves are heightened by approaching land – Shetland?”
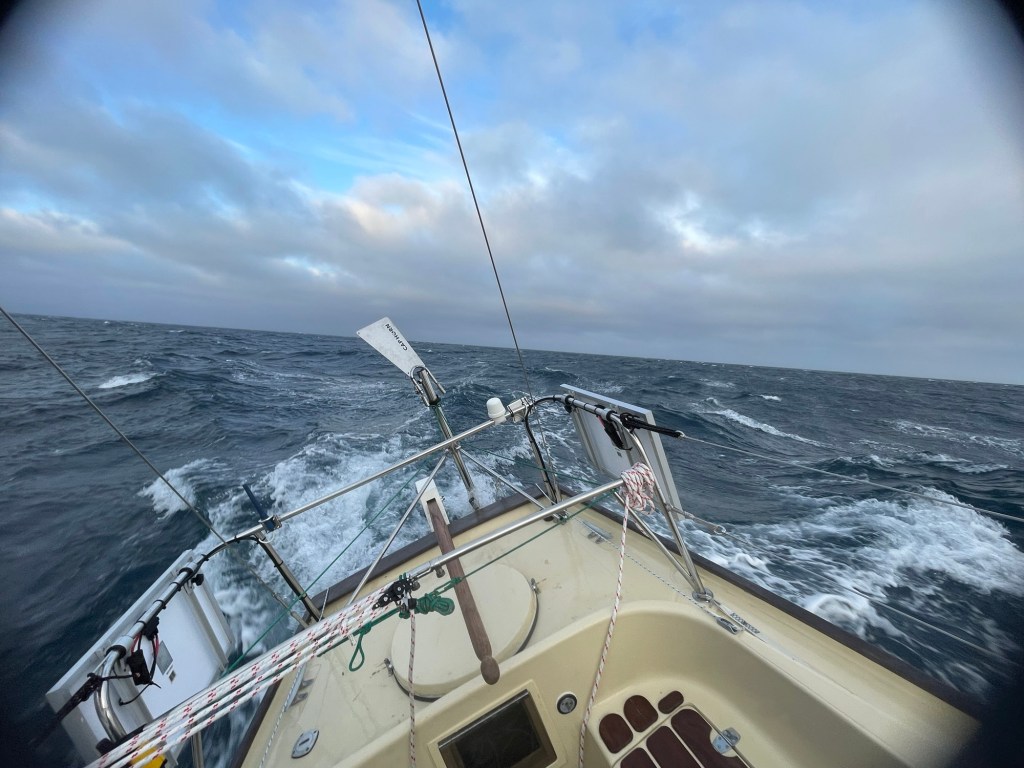
Those were definitely the biggest seas we experienced; there must have been a local factor because even a 7 couldn’t raise waves to that height in deep water. It became a different kind of sailing then. A contact sport. We headed up to port to keep a good offing from the approaching headland and the waves, rather than breaking over the stern, slammed into our beam. BANG!! Tarka shuddered and I winced with gritted teeth. The port side windows were underwater, and the hull was forced violently sideways. Over and over again. Every once in a while I’d get dressed and have a look around, standing in the cockpit. What a sight, a war zone. Broken waves flattened the seas around them. In the troughs I craned my neck to see sky above approaching swell, wondered how on earth Tarka was going to get over it, and was in awe of all the power around us. As we rose to the peaks I could see over successive swells, great sand dunes stretching out in all directions.
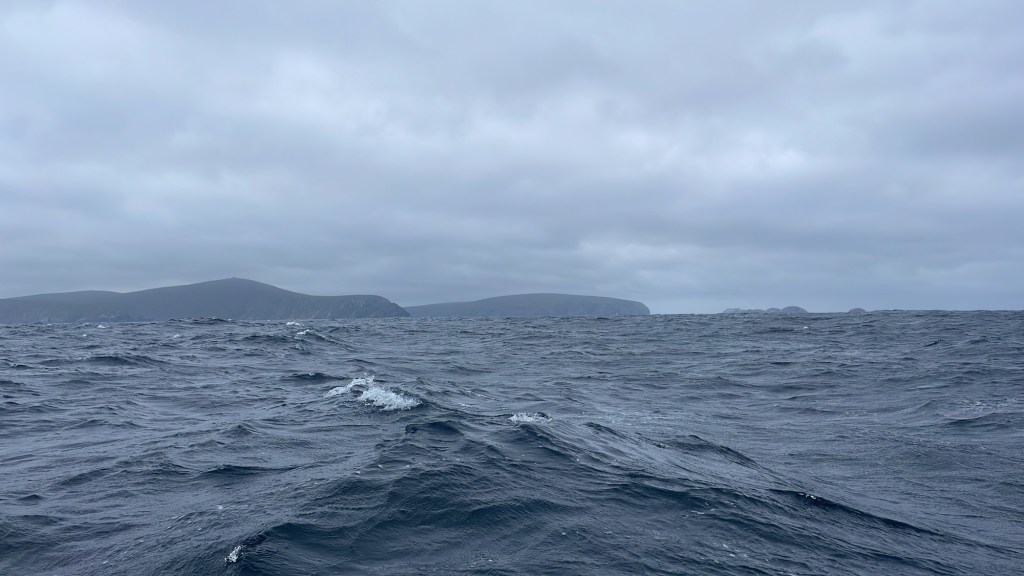
I woke up after a short nap to find us 4 miles off, abeam of the great Muckle Flugga, the most northerly point of the British Isles! My heart filled with joy. The swell stretched out as we rounded and headed down the leeward side of the headland. I sat buzzing with excitement and gazing at the rolling green hills of Unst. This the most northerly island in Shetland resembled not the UK I knew, not even the Hebrides or Orkney; it was distinctly viking. I made a few calls to update folks at home with the limited service I found off the land.
[ Thatcher’s Waters & The Grid ]
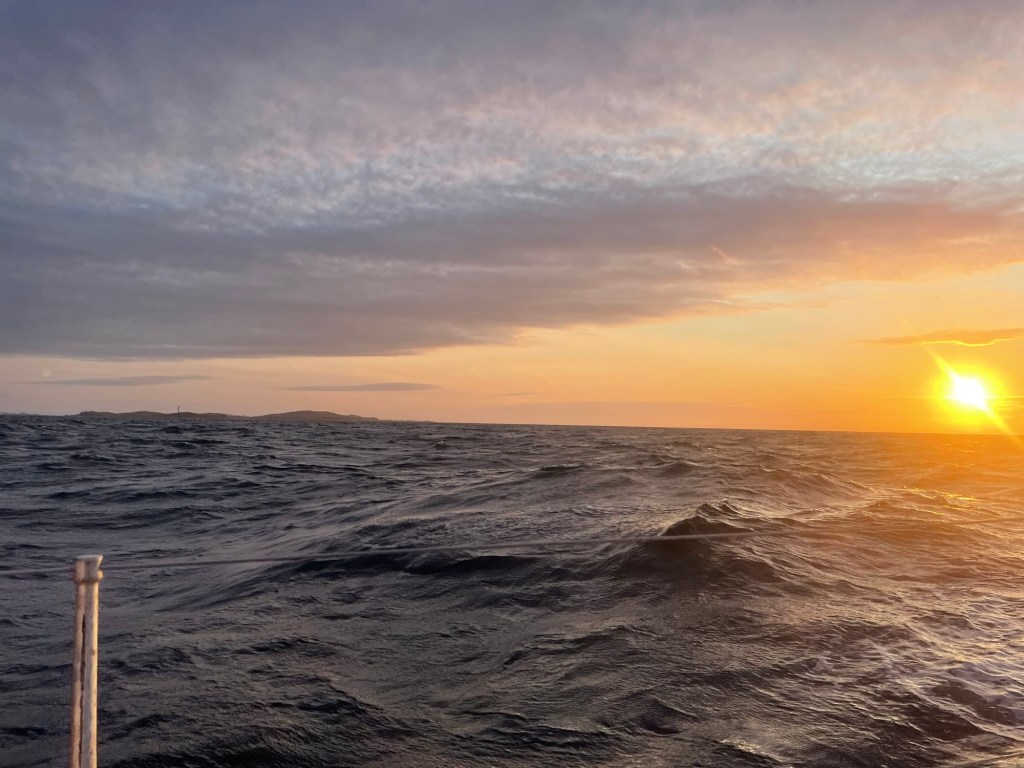
Heading south at last felt like starting the long descent from a high mountain. With every mile we decompressed, the accumulated tension of the last leg beginning to fade, replaced by a quiet confidence that we were on the home run. The sea: smooth or slight behind the land relished the relief with us. I sat in the cockpit swaddled in layers, the sunset setting the sky on fire, fulmar circling, a crisp wind on my face. In the morning it was time to change charts, from Shetland and Orkney to the North Sea Northern Sheet. Our path – spanning the entire length of the North Sea, was to take us weaving through offshore installations and wind farms with little let up for the next 600 nautical miles.
1026 22nd July | 180º | 4.4kn | 1248nm | 4NW | 1032 hPa | 59º20N, 0º39W
“Catching up on sleep.”
1336:
“Still catching up.”
1537:
“Catching up.”
1932:
“Getting excited about about a transatlantic!”
After a lull that night the wind backed to the south west and we were once again close-hauled. A weather update received from my parents indicated that the region was littered with lulls, high pressure sitting over Denmark. I mentally prepared myself for the progress to slow. We spent the following day accompanied by a very curious and excitable pod of white-beaked dolphin. There was one in particular who I spent a long time at the bow eye-to-eye with, before he discovered my wind vane! A much more interesting and interactive toy…
“I’m going to get V. Tired if it goes on like this. It’s my alarms. They’re very good. But if you turn them off even for a split second, you’ll relish the silence so much as to send you into a deep sleep. They work because they make such an awful noise. It’s just busy enough around here with fishing and rigs to be alarming most of the time. Tricky for the lone navigator.”
“Last night was pretty rough – in the sense that radar alarm every 5 mins, slatting sails, under 2kn. The sound of slatting sails is one of the worst: chafe chafe chafe, but I’d still rather have them up and go 2kn than take them down and go 0. It’s not like taking them down would facilitate sleep.”
Through the next few days we wove through the first set of oil fields, the timeless, ageless Atlantic long gone, these were Thatcher’s waters.
1200 24th July | 160º | 6.1kn | 1469nm | 6WSW | 1021hPa | 56º03N, 1º08E
“Wind farms sighted”.
As the afternoon wore on our situation became clear: On our current close-hauled course we were headed straight for the Dogger Bank offshore wind farm, the world’s largest offshore wind project. We had three options: 1. Beat up and around it, adding at least 12 hours, 2. Head down and go underneath it, adding at least 12 hours, or 3. Sail straight through the middle. Due to the general flukiness of the wind and my desire to get through these waters as quickly as possible, I went for option 3. I knew it would mean very little sleep that night, nor much rest the far side.
At first just a line of synchronised red flashing lights appeared, spanning the southern horizon. We sped towards them in the failing light, though it was hours before the white light at their bases appeared too.
2200 24th July | 165º | 5.5kn | 1525nm | 5SW | 1019hPa | 55º14N, 1º52E
“About to thread the needle through Dogger Bank wind farms”
We arrived at the outer line just before midnight. I could just make out the blades in the darkness. There was a fresh breeze running spinning the blades in perfect unison, like cartwheeling dancers in a line, lights slowly lining up and then spreading out with staggering regularity. I had just sailed straight into a live circuit board, on a colossal scale.
0102 25th July
“Through first wind farm. Just another corner of another one to go.”
I had calculated that thanks to the mammoth scale of the farm, and the distance between each turbine, I had nearly an hour before crossing into the next one, an hour I used wisely – sleeping.
0415
“Made it through! That was surreal. V impressive. Quite scary.”
On leaving the farm I made a desperate attempt to rest. The next oil rig was 4 hours away, just long enough for 4 – 50 minute naps. After that I would need to be back on it. South of the Dogger Bank the frequency of both platforms and shipping dramatically increased. Tankers coming down from Scandinavia use deep water channels and Traffic Separation Schemes (TSS) (shipping lanes) en route to major ports on the English east coast, Northern Europe and ports through the Channel; all things I would need to avoid. Later that day the wind dropped and an eerie haze descended. The progress became so slow that for the first time since Ireland I took the jib down, leaving just the main up to steady the violent motion from residual swell, put my headphones on to drown out my frustrations and slept.
“Had an amazing sleep earlier – when we were becalmed. Woke up with a lovely NWish breeze. So needed. I never know when to stop. I drive myself into the ground. Feeling better now.”
“Bilges absolutely full of water. Took a few minutes of pumping. There was a fair bit above the cabin sole.”
“Dream in a dream. More sleeps”
“8. Picked up proper. 2 reefs in main. Next would be s.j. V wet. Proper N.Sea stuff”
0910 26th July | 285º | 5.7kn | 1679nm | 6SW | 1007hPa | 52º48N, 2º54E
“Tacked onto port – N of E.A.3. wind farm. Feeling good”
Coming inside the cabin the sharp smell of electrical smoke hit me. I ripped open the starboard locker – nothing. I whirled round to the engine bay and opened it up, smoke poured out.
1110
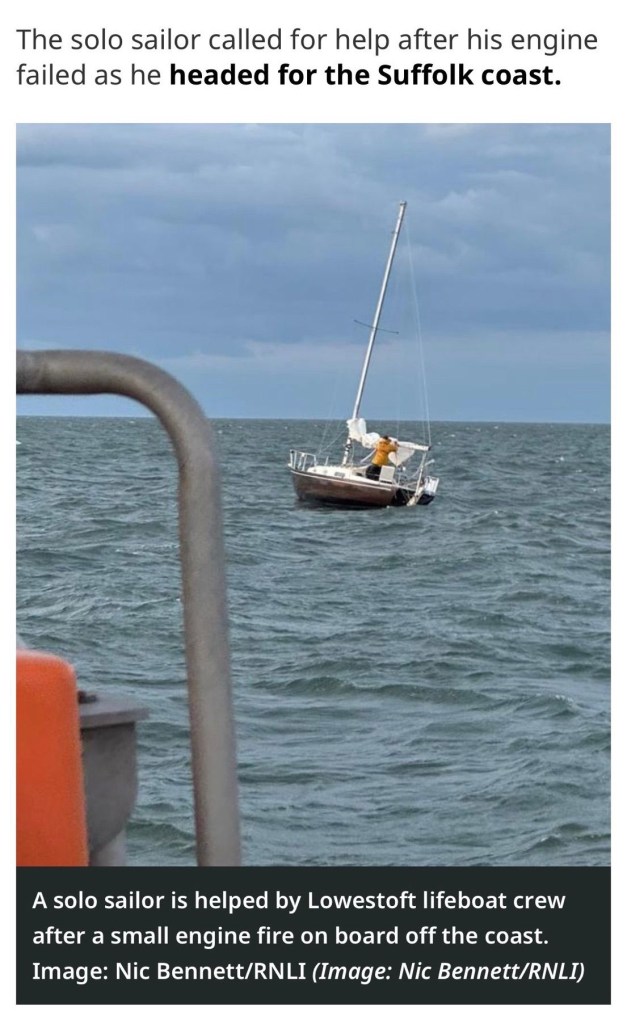
“FIRE. Engine bay. Emergency message sent to YB”.
I grabbed my fire safety stick, skim read the instructions, struck the tip to set it off, and shoved it in the engine bay. The cabin filled with the suffocating smoke of the small extinguisher. Remembering the engine was connected to the electrical system, I dove back inside and shut the electrics off. Seconding that, I ran to the aft locker to shut off the gas supply at the source. I then hauled my life raft, grab bag, EPIRB and handheld radio into the cockpit, and looked around. The serene normality of rolling swells and blue skies had gone. I stood in the cockpit and called a mayday on the handheld. No reply came from the tanker passing me a mile off. I was at the same time sending frantic messages to my parents on the handheld satellite tracker. Then for a moment everything went quiet. I wasn’t worried for my life. I was in one of the busiest shipping areas in the world and was very happy to sit in a liferaft for a few hours, but wondered if this would be the end of Tarka, the end of an era. That was a sad thought. I felt so grateful for everything she had done for me. The prospect of moving on without her felt terrifying. I came back to reality.
1120
“FIRE OUT. Electrics dead. Making for Ijmuiden. 100º | 4.5kn | 5SW”
We were alright. The cabin was a mess and still filled with smoke but we weren’t sinking.
1140
“Change of plan, heading for lowestoft instead. Received coms with HQ. 315º”
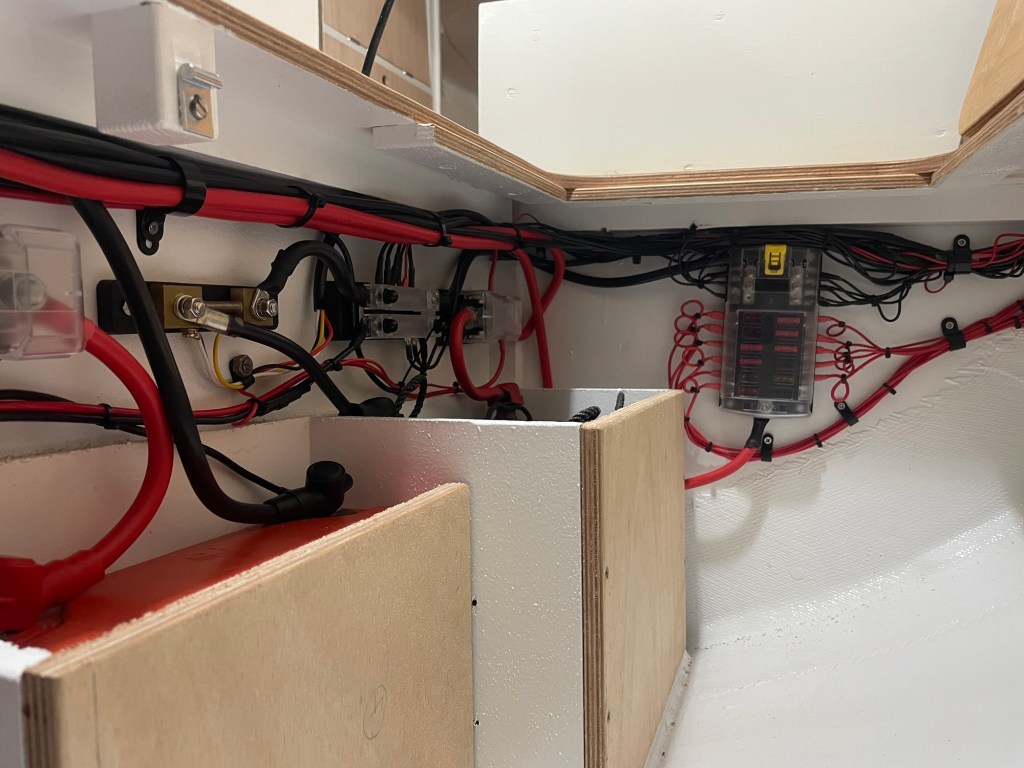
Once on course – for a familiar port as opposed to an unfamiliar foreign one, through the shipping lane, and fueled up with peanut butter and digestives, I had another look for the cause. I must’ve missed it the first time. My battery boxes had broken open and house and starter batteries lay adrift in the locker. On closer inspection I saw that the house battery had also taken a length of negative cable with it, and remarkably the starter had taken a length of positive! The diagnosis then being clear – a dead short.
1250 | 52º52N, 2º41E | 4.4kn
“Electrics house back on. Replaced battery terminal. Resealed battery housing”
My parents had been contacting the coastguard in Lowestoft, making them aware I was heading for them 40 miles away, and would need assistance getting into port without the use of my engine.
1320
“Got phone dry enough to charge. – has backup charts for ports of refuge. CG aware and tracking on YB. Just had a bite. Going to try to get some rest now. Thank you Mum+Dad xxx”
1930
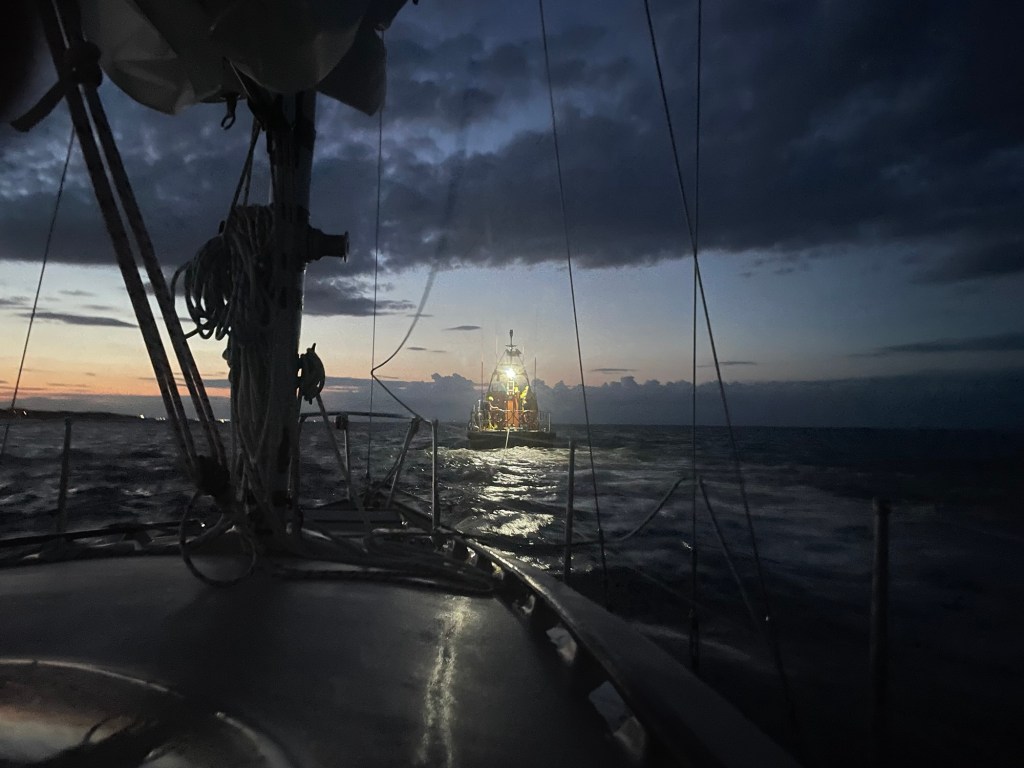
“- RNLI rendezvous. Outside Lowestoft”.
By 2200 I was safely moored in the Royal Norfolk and Suffolk Yacht Club, feeling shattered, relieved and incredibly grateful to those involved in helping me get in.
Waking up in Lowestoft the next morning was a most unwelcome culture shock. I didn’t deny myself the luxuries of a hot shower and cooked breakfast but they tasted shallow. Though I knew it was right to come ashore, I felt untimely ripped from my watery world by an irritating set of combined coincidences: It was clear I had under engineered the battery boxes. In order to get the batteries in and out I had had to make the side panel removable, and it was only secured with screws into the end grain ply of the frame. The violent motion in the North Sea made quick work of that. Secondly, when putting the batteries back together I discovered that a couple of crimp connections were so loose as to be bound to pull out with any strain, something I must’ve missed when assembling the electrical system – highlighting the danger of working on these things alone, with no-one around to certify the work. Thirdly, and most irritatingly I had left the isolation switch on ‘both’: connecting the house and starter batteries together, despite having not used the engine since Ireland! A most frustrating, completely self-inflicted situation. Fortunately I had connections to the old boatbuilding college in Lowestoft and found a couple of ex-instructors willing to take a look at it for me. Shaken by the whole situation I thought it best to offload the work. They made light work of it: the fire damage turned out to be in the wiring behind the control panel, which now looked like a mush of copper and plastic. The smoke clearly had no other escape path but through the engine bay. Parts were ordered and fitted within the week.
[ Final Push ]
1910 31st July | 180º | 3.2kn | 2.9nm | 3ESE | 1023hPa | 52º26N, 1º47E
“Leaving Lowestoft buoyed channel. Thinking it’ll drop tonight. SE
tomorrow. Could go E now but don’t want to. Will just have to beat into it if pushed too far W. Need to be E of Sunk.E R.W.2.5s light. Stay E of Sunk roundabout.”
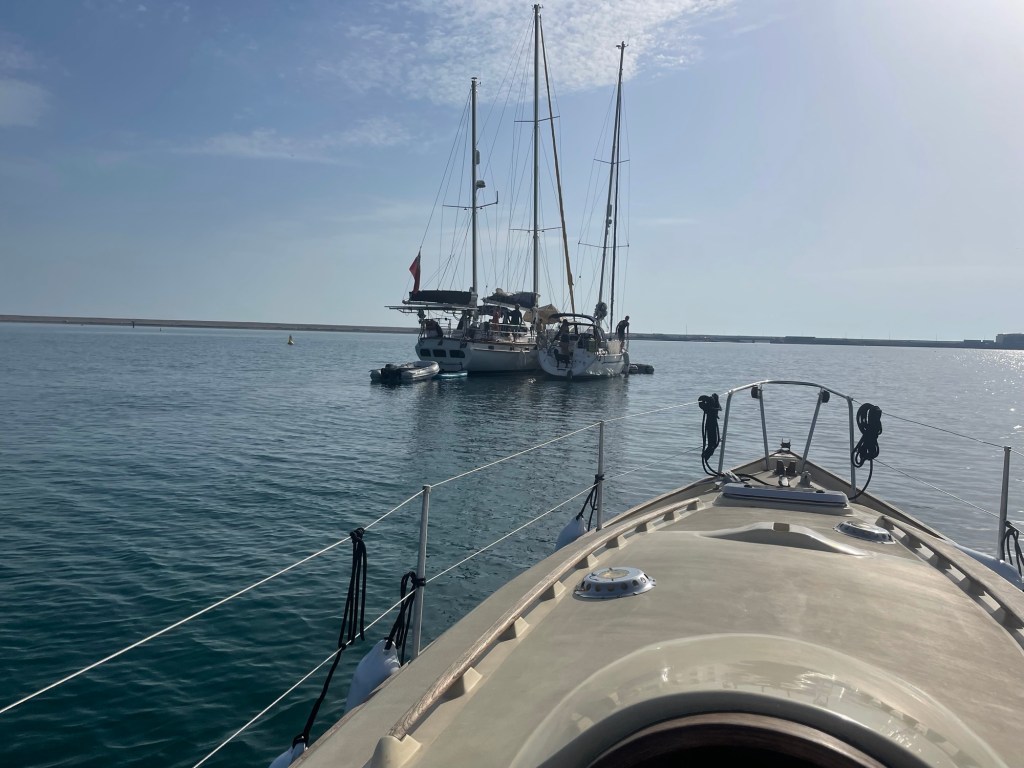
Our progress was sluggish and fitful, the momentum generated from our previous 16 days at sea – gone. Over the next 24 hours we sailed out and around the Galloper wind farms and Sunk TSS, before sneaking back inshore between South Falls and Goodwin Sands. The wind was light but the tides strong and our track became exhaustingly irregular, dictated by the complex spring tides off Dover. After sitting becalmed off Goodwin overnight in foul tide, we were in prime position for the next south-west going stream in the morning. 9 knots over ground! With the sun came a nice breeze that shot us past East Goodwin Light Ship, through the path of Channel ferries, and out. In the afternoon the breeze picked up. I poled out the Genoa and were eating up the miles again.
1900 2nd August | 240º | 4.4kn | 129nm | 4(5)NE | 1020hPa | 50º43N, 0º31E
“Not much to report. This SE coastline is depressing.”
“Also noticed the drop-off of wildlife, started at Dogger farm. Few gannets still. By lat of Lowestoft only seagulls remained.”
“Am approaching Beachy Head. Yet to fill back in. A few guillemots. That’s all :(”
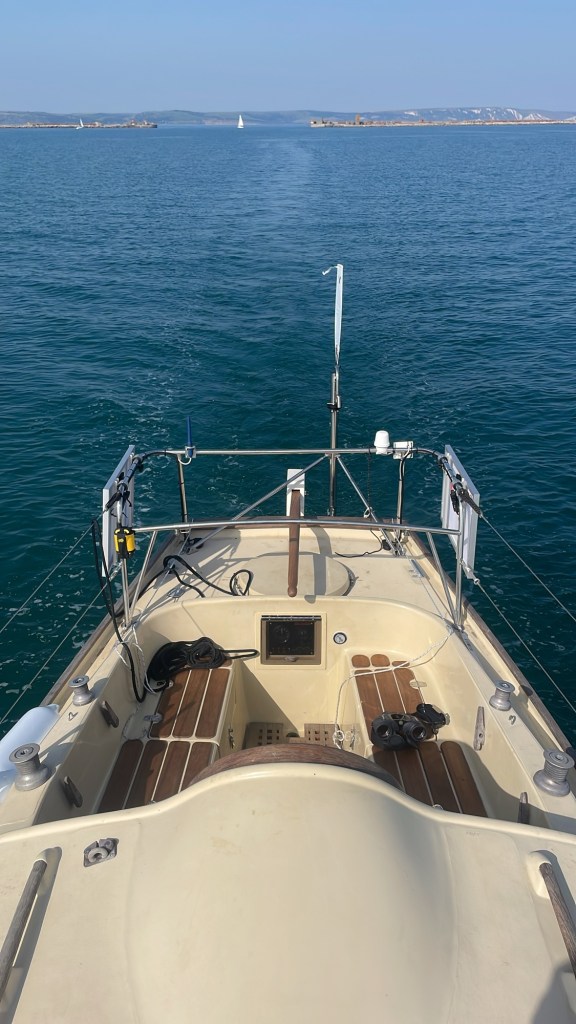
After passing the Isle of Wight the following morning, the wind died and we were destined to crawl the last miles home, motoring the last 10 miles or so back to the breakwater.
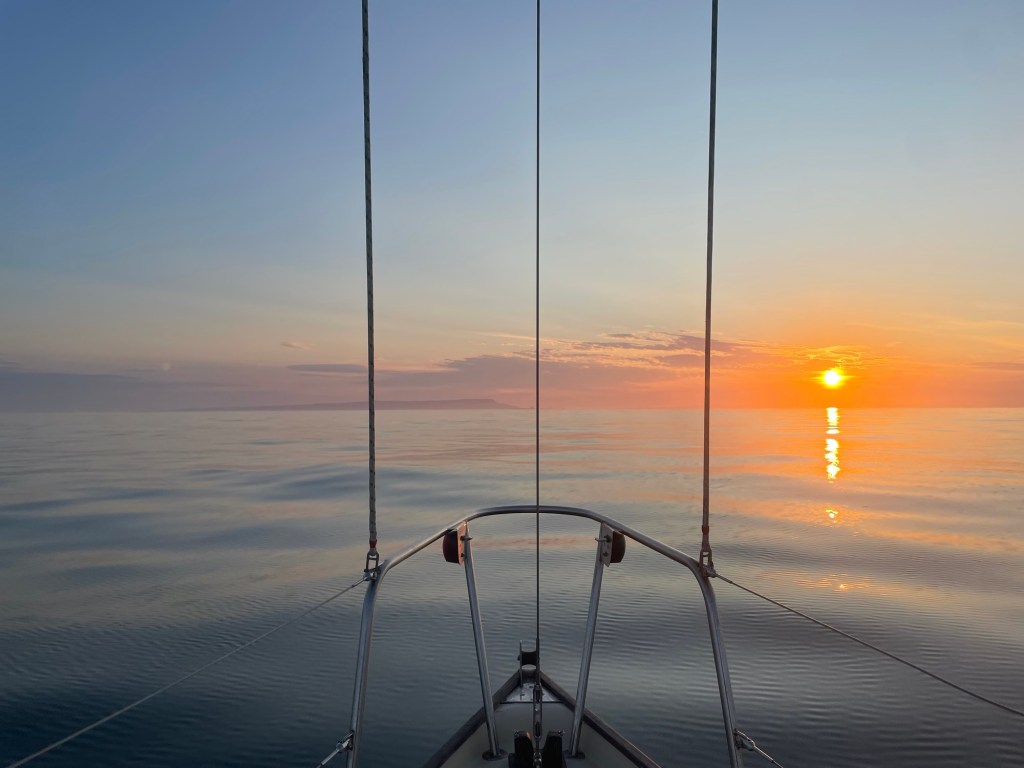
2200 3rd August | 3.5kn | 233nm | 0-1 | 1015hPa
“Entered East Ship Channel.”