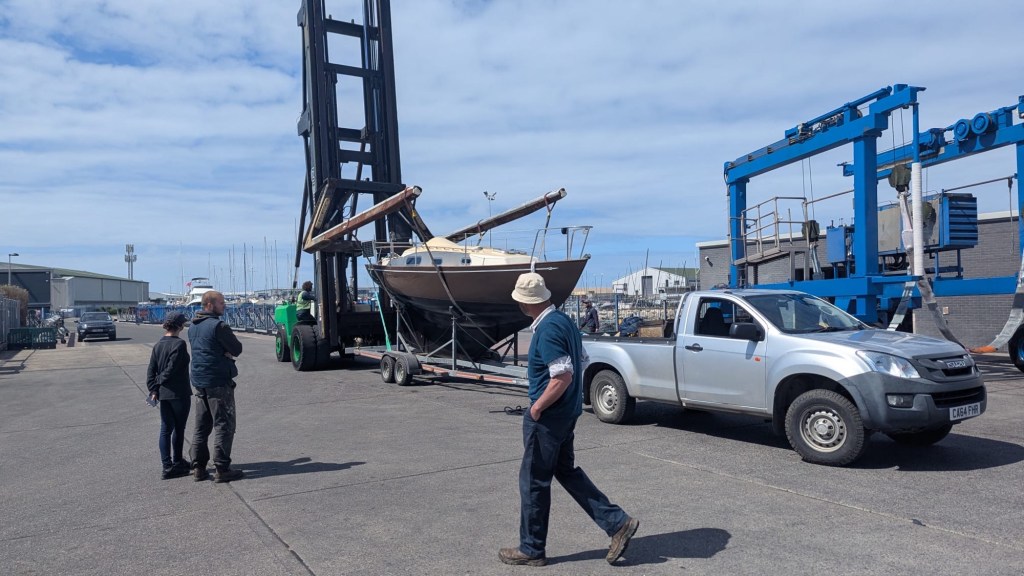
At last! Tarka and I are ready to take to sea. The mast went up last Thursday, and earlier this week with guidance I managed to fit and tune the rigging myself.
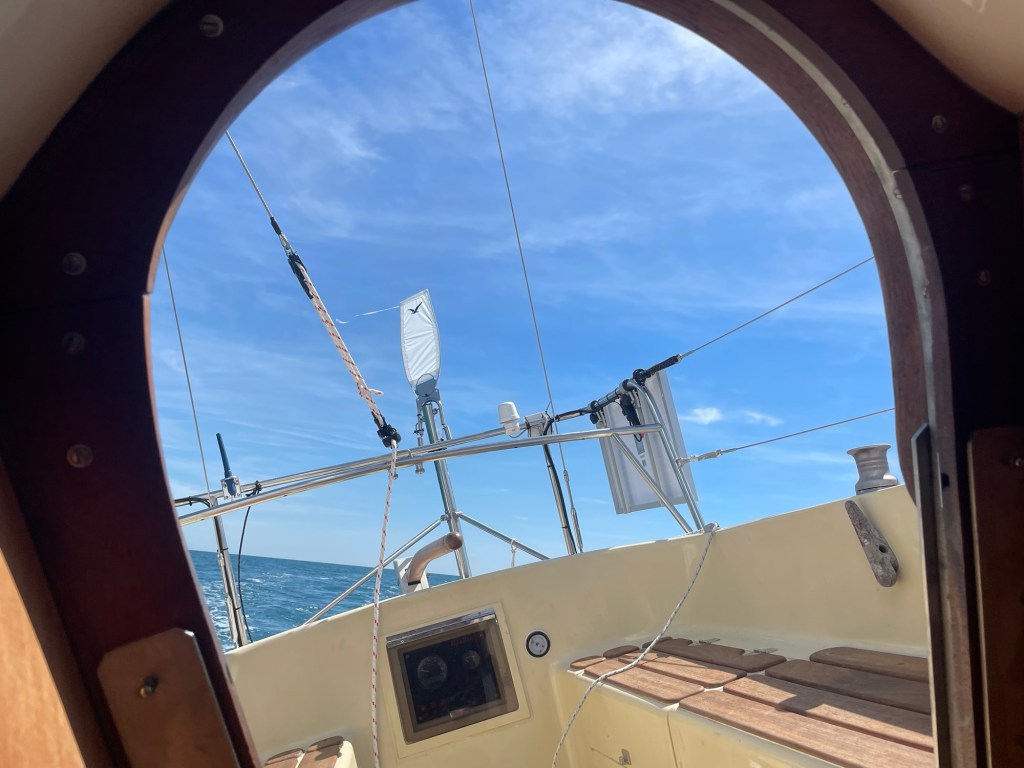
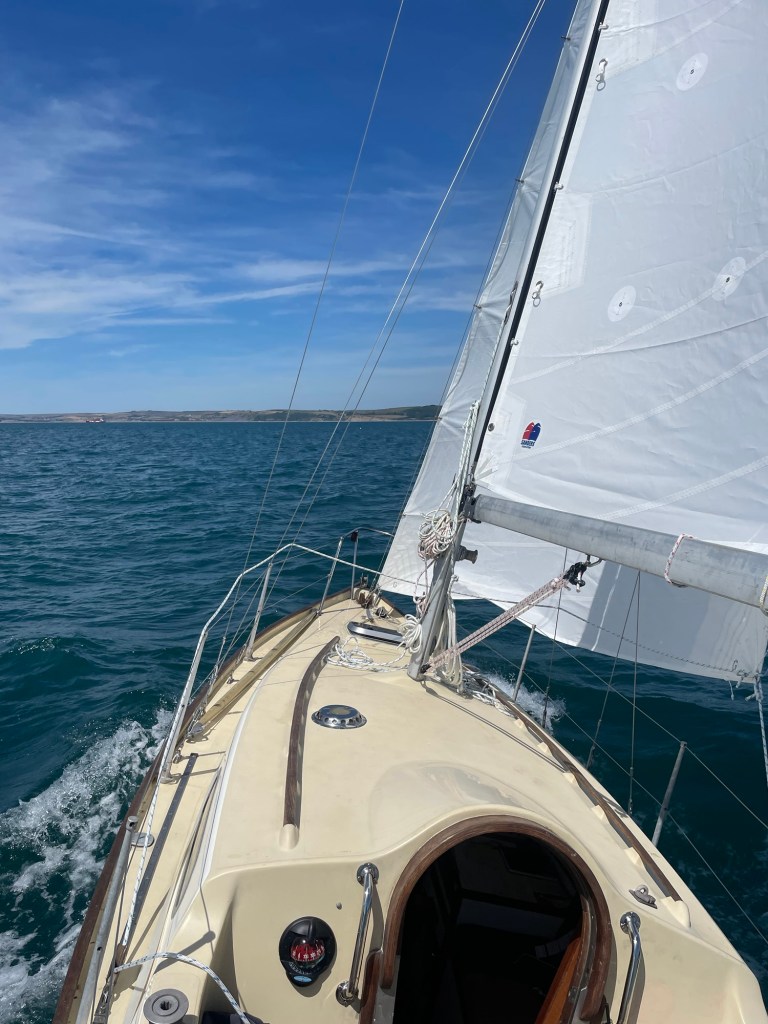
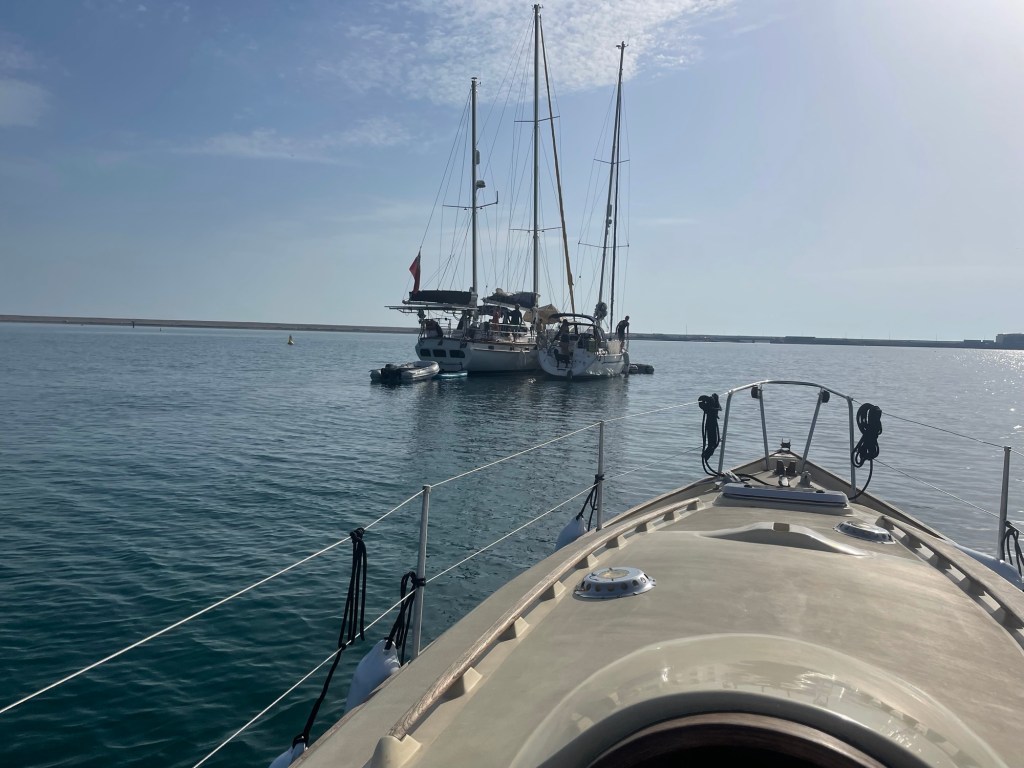
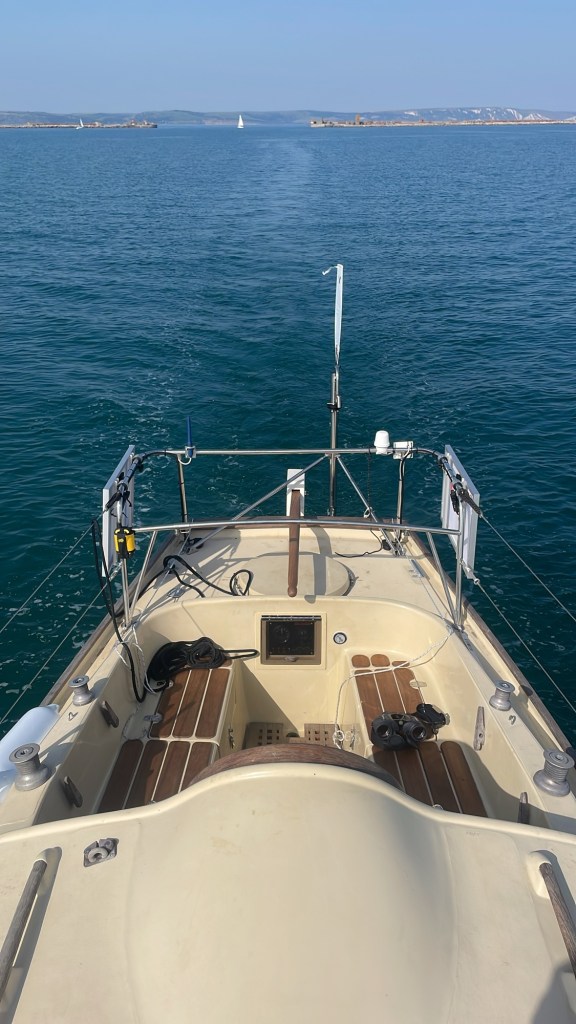
We then had a few days to, among other things, go sailing! To get familiar with how she handles, how to move around her in a seaway, reefing procedures and using the windvane. We had a great time!
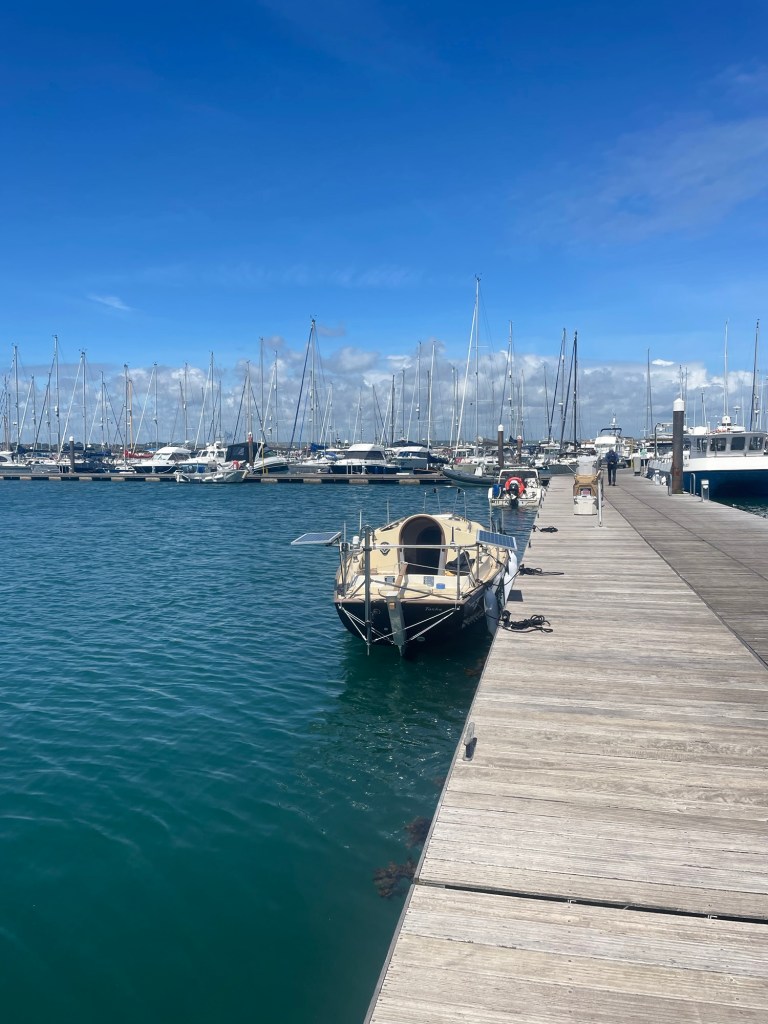
It was absolutely sublime getting to sail for the first time after all this, and I can’t wait to get out into some more open water!
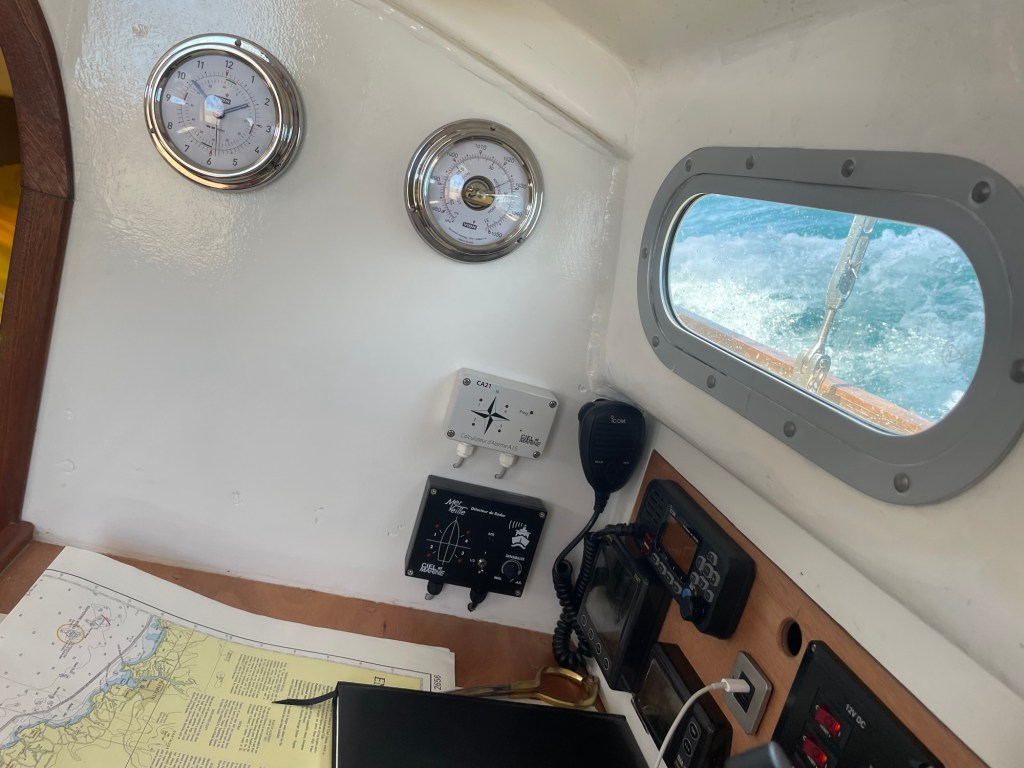
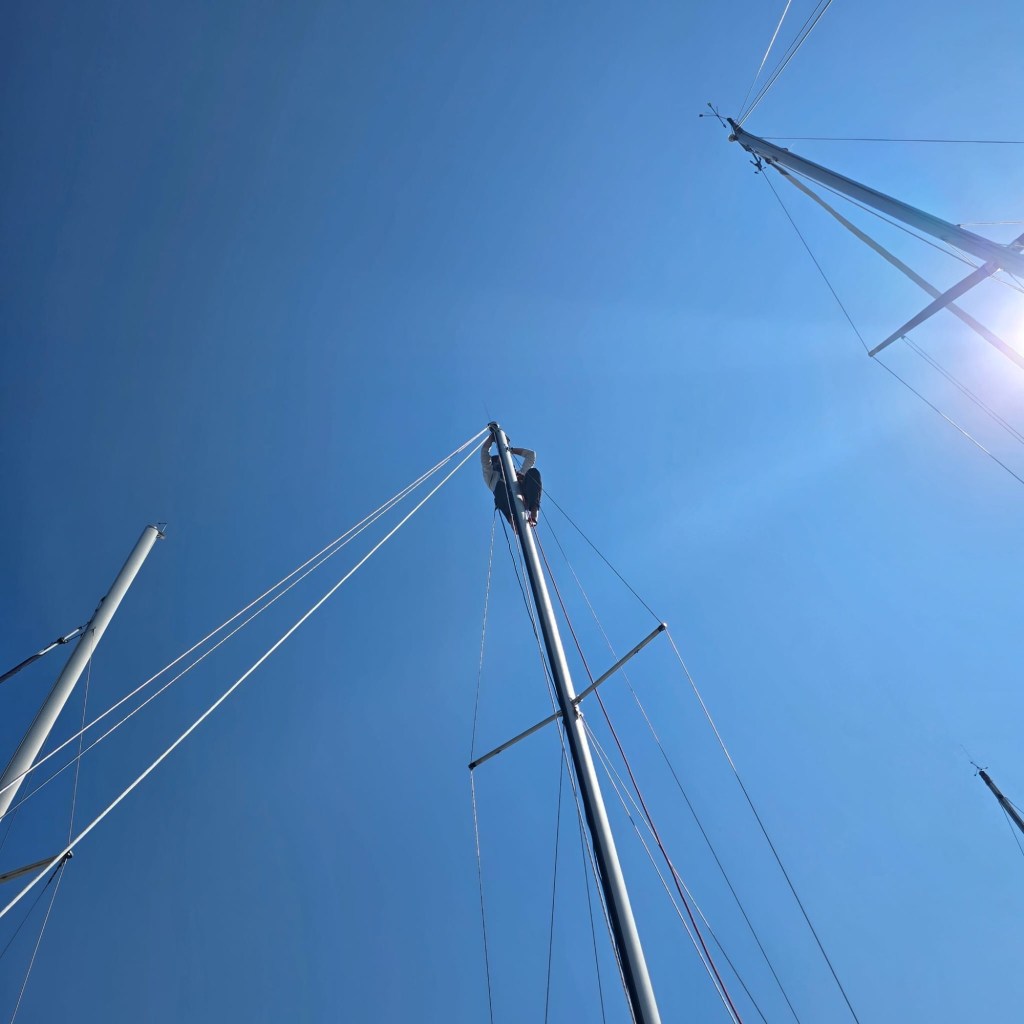
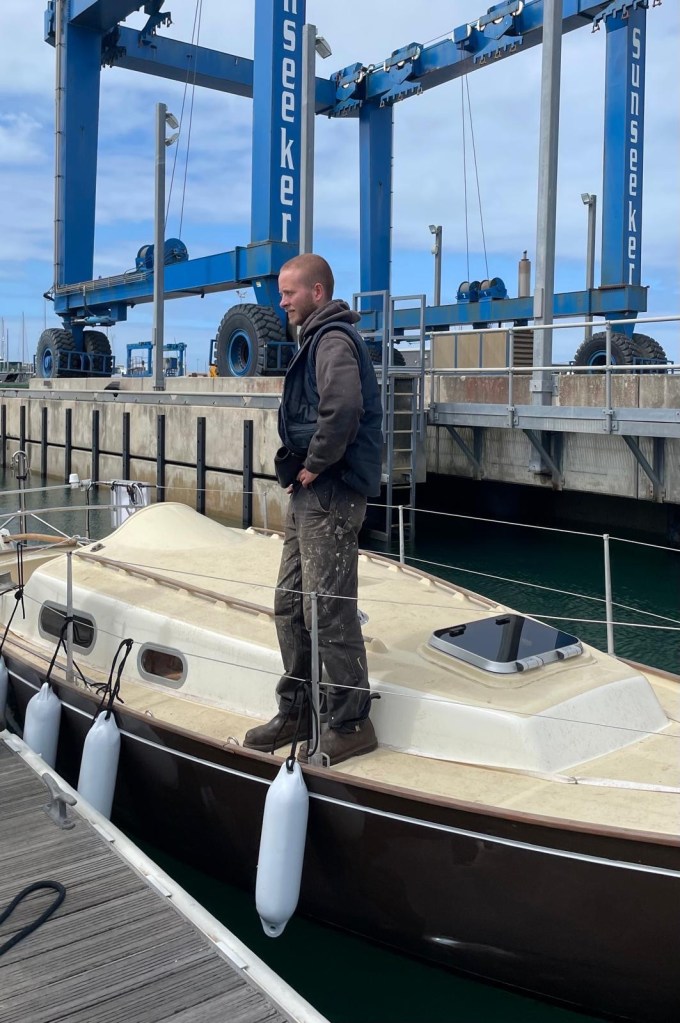
I’ve also been up the mast for the first time, fixing the dodgy vhf connection I had, as well as reinforcing the spreaders.
We’ll be leaving tomorrow morning Fri 10th July at 0630 from Portland. I’ve chosen to take a clockwise route around the uk instead of the previously planned anticlockwise, as a great weather window of easterlies is forecast for the next week. The plan is to get out of The Channel, South of the Scillies and make for Rockall, a tiny uninhabited islet in the North Atlantic. Then I’ll take a right and head for the North end of Shetland before coming back down the North Sea and English Channel back to Portland. Roughly 2000nm.
Although the plan is not to stop, I know there are plenty of places to take refuge if the conditions require it, if I require it, or if the boat needs outside support to fix issues.
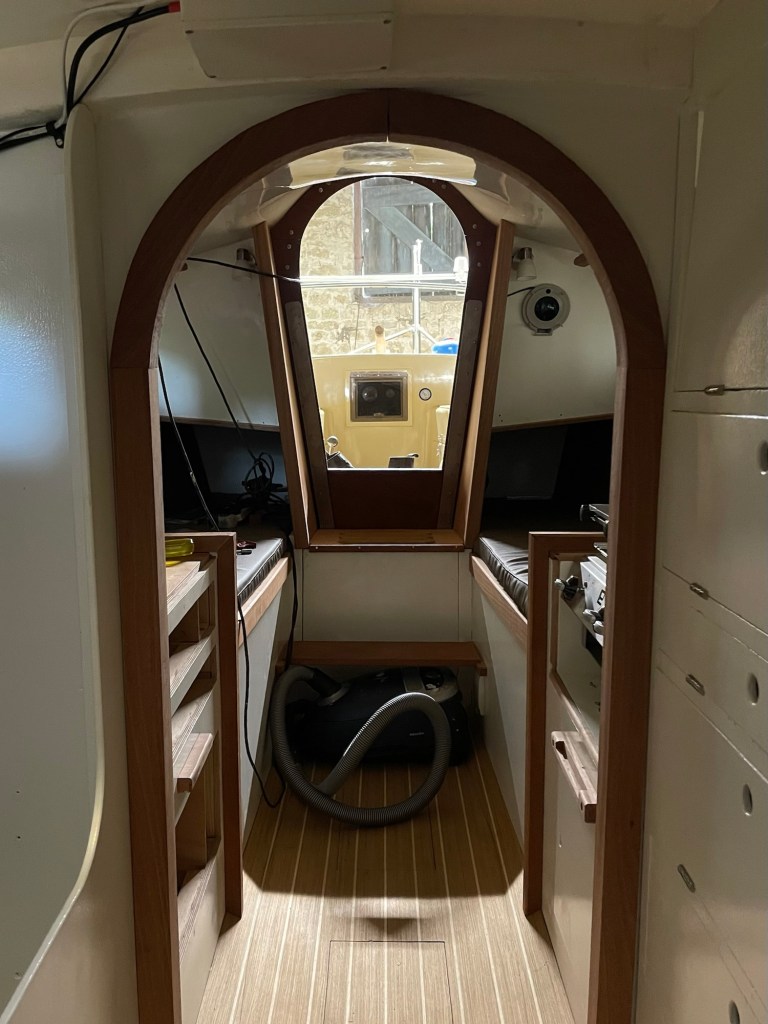
In terms of provisions to take me round safely and securely I have:
- 28 days of dehydrated food, and a smaller supply of fresh and tinned stuff for the beginning and end of the passage.
- 160L of water.
- Comprehensive medical kit
- Life raft, grab bag, Epirb, life jackets (+plb)
Getting Tarka ready has been incredibly physically and mentally demanding, especially these last struggles. I’m so looking forward to the intensity and stresses of the past few months drifting into the past as we make our way out into the big blue.
Use this link to track my progress!
https://my.yb.tl/JoeBainbridgesailing/map-only/